Recording Screen and Webcam Together so Students See Your Face and Your Slides
A practical guide to recording slides and your face for clear lessons.
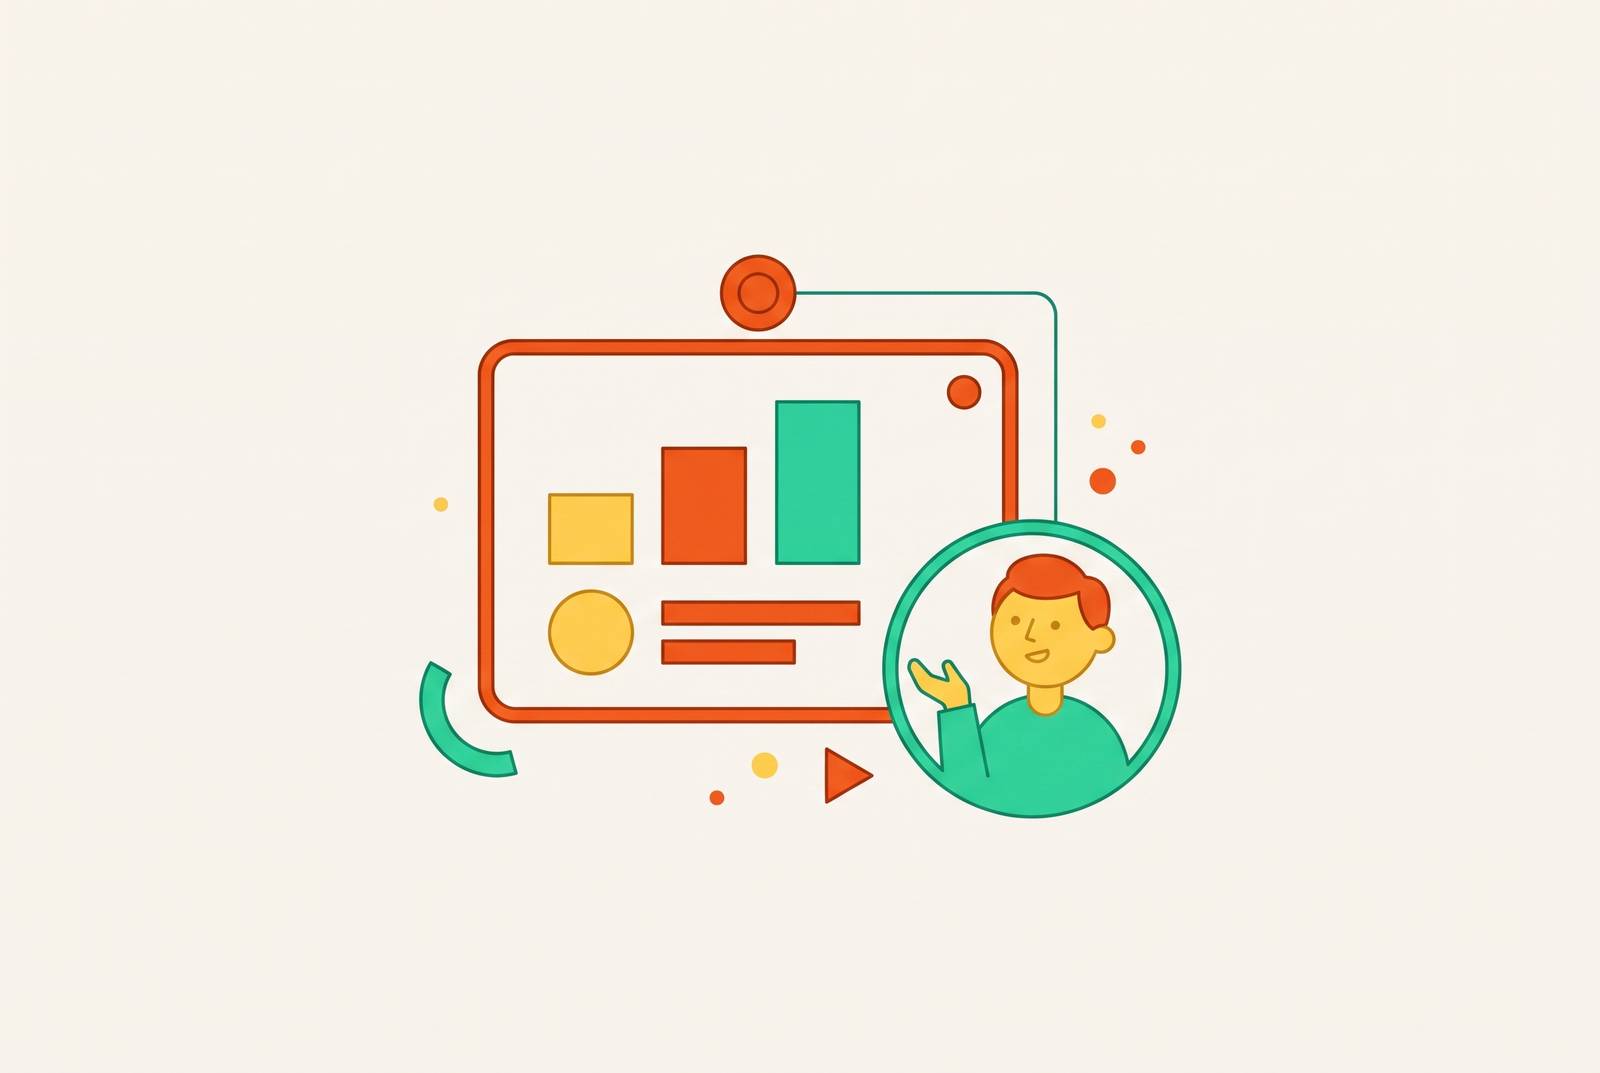
Recording your screen and webcam together is best treated as one workflow. For lessons that need both your face and your slides, a dedicated recorder with webcam overlay, audio capture, editing, and sharing keeps that workflow simple. Clear sound, readable slides, and deliberate delivery do more for the finished video than expensive equipment.
Why students disengage from slides-only recordings and what a face in the corner fixes
A slide deck with a voice-over gives students information but removes the person explaining it. In an asynchronous lesson, there is no live classroom to help hold attention. A visible face supplies some of that missing connection. A nod, smile, or gesture adds meaning beyond narration alone, and expressions help students see which points matter most and judge how much they understand. The instructor becomes a person again, rather than the mysterious voice inhabiting slide seven.
ASU’s Recording and Sharing Video Lectures TLC guide recommends appearing on camera at the beginning of a lecture or when introducing a topic to establish instructor presence. Your face can be off screen for part of the lesson. A small corner overlay can provide that connection while leaving the lesson itself in charge.
What kind of screen recorder can record your screen and webcam together?
The first obstacle is often the recorder already on your computer. Built-in tools such as macOS Shift-Cmd-5, QuickTime, and Windows Game Bar do not layer a webcam bubble over your screen in a single recording pass. Use a simple diagnostic. If the tool makes you choose screen or camera but cannot show both together, it cannot produce the overlay you need.
Presentation apps are a different category, and some have their own recording options. Microsoft’s support documentation describes PowerPoint recording voice, ink gestures, and video presence, while Apple’s support documentation describes including Live Video in a recorded Keynote slideshow. Google Slides offers a recording button on paid Google Workspace plans such as Business Standard and above, but not on free personal accounts. The app therefore changes the available route. A dedicated screen recorder avoids that dependency by capturing the presentation as it appears on screen.
For that universal approach, look for screen capture, webcam overlay, microphone, and system audio in one pass. The same method works with PowerPoint, Google Slides, Keynote, or browser-based slides. Editing and sharing support can keep the later stages in the same tool.
What to do before hitting record — environment, slides, and a quick sanity checklist
Most problems that force a full retake are preventable with five minutes of setup. Start by closing apps and browser tabs that have nothing to do with the lesson, especially gradebooks, personal email, and messaging. Student data must stay out of the recording. Disable notifications, use Focus Mode or Do Not Disturb on macOS, and hide the dock or taskbar. A plain desktop wallpaper also removes visual clutter if the desktop appears.
Next, make the slides readable before making them recordable. Use large fonts, high-contrast colors, and concise text. ASU’s guide treats these as accessibility choices. Minimize unnecessary animations, which may not translate cleanly through video compression. For code editors and terminals, increase text to at least 16px for a 1080p export.
A Retina or HiDPI display may run at 2560×1600 or higher, which can make the text too small to read in the final export. Set it to a scaled 1920×1080 equivalent, or record a specific window at that size. Keep your bullet-point notes on a second display or a tablet beside the screen. Notes scrolled through on the captured screen become part of the lesson, whether invited or not.
Finish with a 30-second test recording and play it back. Listen for background noise, echo, and a muffled voice, then check whether the webcam hides anything students need to see. Fix those problems before the full session. The test is short for a reason. It is much cheaper than discovering that an entire explanation competed with a fan.
Hardware thresholds that count — microphone first, webcam second, lighting third
Start with sound. Students can put up with video that looks so-so, but audio that is hard to hear makes the explanation harder to follow. Close the door, turn off fans, and silence the phone before checking how well your microphone works. A quiet room is the cheapest audio upgrade. It also lets the test recording reveal whether the equipment you already have is sufficient.
ASU’s guide states that instructors can successfully record lectures using their computer’s built-in webcam and microphone. There is no mandatory shopping trip here. If audio remains weak, a USB condenser microphone can outperform a built-in laptop mic, and a pop filter reduces plosives for a few dollars.
For a corner overlay, most built-in cameras are adequate. A 720p image is good enough, though 1080p looks cleaner. Position is the more immediate fix. Raise the laptop on a stack of books so the camera sits at eye level, and place your eyes in the top third of the webcam frame. The view from below your chin does little to help students learn.
Then check the direction of the light. Face a window or place a lamp in front of you. A bright window at your back turns you into a silhouette. When delivering a key point, look into the camera rather than at the screen so students receive something closer to eye contact.
How to position and size the webcam overlay so it adds presence without hiding content
The overlay should make your presence noticeable without making its placement noticeable. Bottom-left and bottom-right are good places to start because they usually cover less of what is on the slide. Neither corner is sacred. Review the first few slides for diagrams, footnotes, and page numbers before choosing a position. An unobtrusive face on the title slide may become an obstacle on the next chart.
Keep the webcam bubble to roughly 15–20% of the frame, large enough for expressions to read without competing with the material. A circular or rounded shape can feel less intrusive than a rectangle, but the slide background should guide that choice. Content gets the final vote. For dense code or a complex diagram, temporarily hide the overlay if the tool allows it, then bring it back afterward. Mark those moments in your outline.
ASU’s guide suggests considering 4:3 slides when appearing on screen, while keeping the default 16:9 for voice-over-only presentations. In a 16:9 recording frame, a 4:3 slide can leave space for the webcam without hiding anything on the slide. Treat that as a layout option.
Recording the session — delivery habits that make the final video easier to watch and edit
A lesson that is easy to follow takes less work to edit because students and editors both need clear explanations and smooth moves from one point to the next. Use a bullet-point outline. Speak as though explaining the topic to someone. At a key point, glance at the camera, and leave a brief pause between slides or sections. That pause gives students time to absorb the idea and gives you a clean place to cut.
The most useful narration explains why. Students can already see the click. They cannot see the reasoning behind it. Explain the trade-off, point out what students should pay attention to, or warn them about a common mistake before it happens. In a coding lesson, explaining why a testing file is separate from the main server file teaches more than reciting the menu sequence used to create it.
That distinction also applies to visual material. Describe the key parts of charts and diagrams aloud so students who have trouble seeing them still get the information. ASU’s guide explicitly recommends this practice. Description means giving the visual’s instructional meaning a spoken form.
Keep each recording to one concept or topic. ASU’s guide cites research suggesting that shorter videos hold students’ attention better and leave them feeling they have learned more than longer recordings do. If a topic needs more time, divide it into discrete segments rather than forcing everything into one continuous lecture. This structure also makes updates less painful. Once you are ready, record several segments in one sitting instead of going back and forth between planning and recording.
What to do when a take goes wrong mid-recording
A mistake usually needs a cut. Pause, mark the spot, and pick up the explanation from a clean start. A clap in front of the camera creates an audio spike that is easy to locate later, while a long silence provides a different, recognizable gap. Either cue gives the editing stage a clear place to investigate. There is no need to punish the entire lecture for one sentence.
Minor verbal stumbles can stay if they do not interfere with understanding. ASU’s guide treats these as a natural part of teaching. Tools with AI-powered editing can also detect and remove silences and filler words after recording. Knowing that recovery is possible takes some pressure off delivery.
Editing a face-plus-slides recording without a video background — trimming, captions, and cleanup
Start by trimming the opening seconds spent settling in along with the closing seconds spent finding the stop control. Then cut false starts, long silences, and clearly bad takes, using the cues you left while recording. Automated silence removal can handle some of that work in tools built for it. The goal is an uninterrupted explanation.
Transcript-based editing makes this approachable without detailed timeline work. Find the words you want to remove, delete them from the transcript, and the video updates accordingly. That is often easier than scrubbing through footage to locate a sentence. Leave small stumbles alone when students can still follow what you say. Removing every “um” is an excellent way to turn a short lesson into a long afternoon.
Captions deserve more care than verbal polish. Automatic generation does the first pass, but technical vocabulary, names, and acronyms can come out wrong. Review and correct them before publishing, especially when captions are a student’s primary accessibility path. Sound-off viewers benefit too. Make the slides available with the recording so students have another way to use the material.
For dense code or complex interfaces, use zoom, cursor highlighting, or callouts to direct attention to the relevant area. Plan those moments before you record. Keep the rest of the finish modest. A typical screen recording for a lesson can do without color grading and advanced audio post-production. Clear audio and readable content are the standard to meet.
Sharing the recording so students can actually access and use it
Even a well-made lesson fails if students have trouble opening it. A required download, an expired link, or a long rendering delay adds friction at the last step. For most individual lectures, a direct link through Canvas or the institution’s LMS is sufficient. Put the slides there too. Larger projects may justify institution-supported production help, but an ordinary lesson does not need a studio handoff.
Cloud sharing can remove the separate rendering-and-upload wait when the recorder provides a link as soon as recording stops. Availability is not the same as readiness, though. Finish the edits that are needed and check the captions before sharing the lesson. Confirm that captions are enabled or attached, since not every LMS or video platform displays them by default. Replace outdated recordings when slides, interfaces, or information change, because mismatches undermine confidence in the course.
The workflow can end in the same tool where it began. A recorder that supports editing and sharing lets you capture the explanation, clean it up, and send students a usable link without stitching together separate production steps. Students get your face, your slides, and an explanation they can follow.