Lighting on a Budget for Solo Course Creators
Placement and white balance beat expensive gear for creating credible on-camera presence.
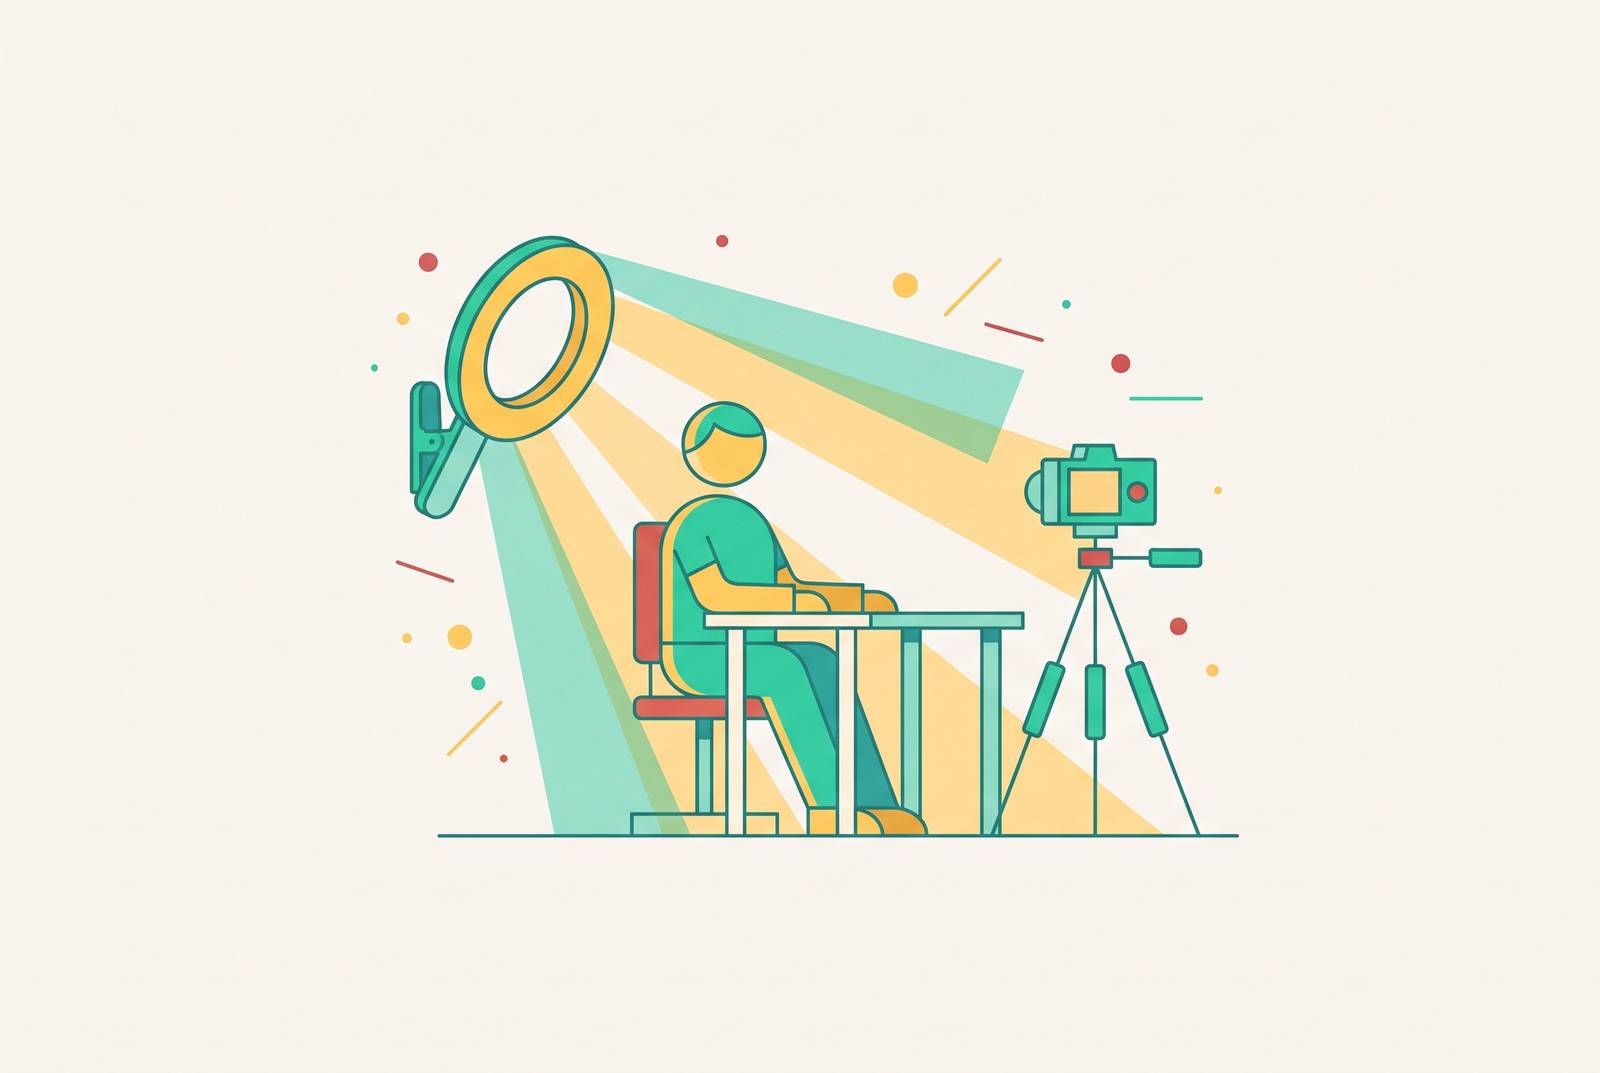
If you've spent an evening staring at ring-light listings wondering which one will make you look credible on camera, you were already in the wrong aisle. Good lighting for solo course creators is a problem of where things go, not how much they cost. The moment you understand placement and white balance, you'll beat someone who spent a fortune on a kit and aimed it straight at their face.
course.co's 2026 breakdown of course production says it plainly: the equipment matters less than the environment. That principle applies to lighting exactly as it does to acoustics. A creator who knows where a key light should sit will outperform one who owns more gear and worse instincts. And since lighting is a minor line item in any realistic course production budget, overspending on it is wasteful twice over. You spend money you didn't need to spend, and you still don't solve the problem the money was meant to solve.
The order of operations matters here. Most solo creators buy first and understand second. You can get professional-looking results for nothing with a window and a piece of white cardboard. You can also spend real money and look worse than you did before the purchase, if you put the light in the wrong place or mix warm and cool sources without knowing why it looks wrong. The rest of this article is about understanding first, so that whatever you buy later (if you buy anything) actually earns its place.
What viewers actually notice, and how lighting fits into that
Bad audio drives viewers away faster than bad lighting does. That's a fact about attention: a viewer will forgive a slightly dim frame far longer than they'll tolerate echo, hiss, or a voice that sounds like it's coming through a pillow. But poor lighting does something quieter and, for a course creator, arguably more damaging. It erodes perceived credibility. The viewer doesn't consciously notice the flat, shadowless light. They just have a feeling the video isn't quite professional, and that feeling transfers to the material.
So lighting is a threshold problem, not a maximization problem. You need to get above the threshold where the image reads as intentional and competent. Below that line, your lighting is working against you. Above the line, more lighting spend returns very little. The same money or time put into instructional design, cleaner audio, or better course structure will move your results far more than another light or a more expensive modifier.
This is the honest framing that most lighting guides skip. They want to sell you the upgrade path. Lighting needs enough respect to get over the threshold. Past that point, move on.
The zero-cost tier: what you can do with a window and a piece of cardboard
A window in front of you on a bright day is a softbox that costs nothing. That's the starting setup, and for a lot of solo creators it's the only setup they'll ever need. Sit facing the window. Place a sheet of white foam board or a cheap reflector to camera-right or camera-left, at roughly half the distance of the window, angled to throw light back onto the shadowed side of your face. You've just built a key light and a fill light out of architecture and cardboard.
The single real constraint on natural light is time. You're hostage to the day. Overcast days are actually better: the clouds act like a giant diffuser, giving you even, soft light across the face. So you schedule recording sessions around the light you have, or you wait for the kind of day that does the work for you.
Then there's the trap that ruins otherwise good natural-light setups: auto white balance. As clouds pass, or as a session runs long and the sun shifts, your camera or webcam adjusts the color temperature mid-recording. You end up with inconsistent color across a course's lessons. The fix is boring and essential. Set white balance manually to a fixed value at the start of each session. Don't let the camera chase the light.
The three principles that govern every lighting setup regardless of gear
Three rules of placement account for most of what separates professional video from amateur video. None of them costs a dollar. Together, they're worth memorizing, because they transfer to every setup, from a window to a fully equipped studio.
Principle one: key light position
Place your primary light source off-axis from you and slightly above eye level, angled down. A face lit from slightly above and to the side looks like a person. This is the single highest-leverage adjustment in all of lighting, and it does not require any new equipment.
Principle two: fill-to-key ratio
Your fill source, whether it's a reflector, a second lamp, or light bouncing off a wall, should sit at roughly half the intensity of your key light. Half is the working default.
Principle three: separation
A light source placed low and behind you, or even a practical lamp visible in the background, separates you from whatever is behind you. It's the difference between looking like you're sitting in a room and looking like you're pasted onto a wall. A reading lamp or an LED strip behind you, off to one side, does more for the perceived quality of your shot than almost any front-lighting upgrade.
There's one more thing that ruins all three principles at once: color contamination. Mixing a cool window with a warm household lamp, without making one clearly dominant, produces a color cast that's very hard to fix in post. Match all your sources to the same color temperature, or make one source so much brighter than the rest that it sets the white balance anchor. Pick a boss light and let everything else fall in line behind it.
The glasses problem with ring lights, and when to use a panel instead
Ring lights are the default recommendation for solo creators, and for a lot of people they work fine. But they carry a specific failure mode for glasses wearers. The ring produces circular, uniform light with a distinctive catchlight in the eyes. That halo effect is exactly the selling point for close-up and beauty content. The on-axis placement that creates the pretty catchlight is the same placement that bounces light straight off your lenses and into the camera.
The fix is not to give up on good lighting. The 45-degree placement you'd want for a key light anyway, off to the side and slightly above eye level, eliminates the ring-light glare completely. The panel at 45 degrees is more universally applicable precisely because it solves the glare problem without sacrificing the key-light principle. You get the dimensionality and you don't get the reflection.
That's not a dismissal of ring lights. They work well for people who don't wear glasses. But they're not a one-size answer, and the moment you understand why they fail for glasses wearers, you also understand why the panel-at-45 setup is the safer default for anyone teaching on camera.
What to buy at each budget level, and what actually matters in the spec sheet
If you spend money, the first thing to understand is CRI. The color rendering index tells you how accurately a light reproduces colors. It matters more than price or watt count for course video. GVM's 2026 lighting kit guide points out that LED chip technology has matured to the point where even entry-level kits should target CRI 95 or above. So you don't need to spend a fortune to get clean color, but you do need to check the number before you buy.
The cheapest paid tier is a 5-in-1 collapsible reflector used with a high-CRI household bulb. That combination gives you full control over fill, and it costs less than most ring lights. The reflector does the work of a second light, and the bulb gives you a consistent, controllable source when the sun isn't cooperating.
Next up: entry-level LED panels. Bi-color panels at this tier offer adjustable color temperature and enough output for a standard desk or home office. Commonly cited models include the Neewer 480 LED Panel and the Aputure Amaran AL-M9. The AL-M9 is a fixed-daylight pocket fill light, not a bi-color panel, so it's useful as a secondary source rather than a main key.
For ring lights, if you've decided they fit your situation, the commonly cited options are the Neewer 18-inch LED Ring Light and the Godox LR160 Bi-Color. The 18-inch size matters. Smaller ring lights lack the output to be useful beyond close-up framing, which makes them a poor choice for a talking-head course where you want some distance between you and the camera.
The softbox tier is where talking-head educational video starts looking genuinely flattering. Softboxes create broader, more diffused light than bare panels. A two-light softbox kit (key and fill) covers most solo recording environments. It's the "done" tier for a lot of course creators: once you're here, you're over the threshold and you can stay.
For portability and location work, the Godox ML100Bi Bi-Color Portable LED Light Kit is purpose-built for solo creators who record in variable environments. Its bi-color range and V-mount battery operation (with optional NP-F support via a separately purchased grip) make it useful where wall power is unavailable or inconvenient. It's the choice when you're recording in a borrowed office, a co-working space, or anywhere the desk moves.
How the recording environment shapes what any light can do
A light placed perfectly in a bad environment still produces bad results. Overhead ceiling lights throw unflattering downward shadows. Warm household lamps in the frame contaminate the white balance. Every one of those problems is environmental, and every one is cheaper to fix than to override with a more powerful light.
The environment fixes cost little or nothing. Turn off ceiling lights while recording. Close blinds behind you. Black-out curtains or a repositioned desk cost far less than a high-output light trying to overpower a bad room.
This is also where the separation principle earns its keep. It needs to exist, and to sit behind you, off to the side, giving the frame depth. That one change does more for the perceived quality of your video than almost any front-lighting upgrade, and it costs about the same as lunch.
Most gear-focused guides never mention the room at all. They hand you a product link and move on. But the room is where the light actually lives. Turn things off before you turn things on.
Why good source footage still beats AI correction, and where AI genuinely helps
AI post-processing can partially compensate for poor lighting. It can lift shadows, warm a color cast toward neutral, and even out exposure to a point. But clean source footage produces results that correction cannot replicate. There's a quality ceiling on rescue work. When the source is right, AI tools are touching up small problems. When the source is wrong, they're trying to rebuild the image from bad data, and the result always looks like it.
The real payoff of correct lighting shows up downstream in your editing workflow. AI auto-captioning, transcript-based editing, and one-click color grading all work faster and produce better output when the source footage is well-exposed and color-accurate. The tools aren't fighting the footage. They're doing their jobs on top of a solid foundation. For a course creator, that saves real hours, and hours are the actual scarce resource in a multi-lesson build.
For course creators specifically, the highest-ROI editing workflow is one where recording and editing stay in the same tool. Switching between a recorder and a separate editor adds friction that accumulates across a multi-lesson course. Every export, every re-import, every format negotiation is time you don't get back. Good lighting reduces the need for correction passes, which means fewer trips through that friction. You record, you edit, you publish. The light was the thing that made the short path possible.
In the end, the entire case for learning lighting is a case for saving time. The window and the piece of cardboard get you over the threshold today. The three principles keep you there, whatever gear you own. And clean footage means the AI tools that actually help, the ones that speed up captions and editing, work the way they're supposed to. Good lighting, understood and placed correctly, is the opposite of a cost. It's the cheapest productivity purchase in your whole production stack.