One Screen Recorder License Your Whole Course Team Can Use on Mac and Windows Without Retraining Anyone
A cross-platform recorder keeps your whole team on one workflow.
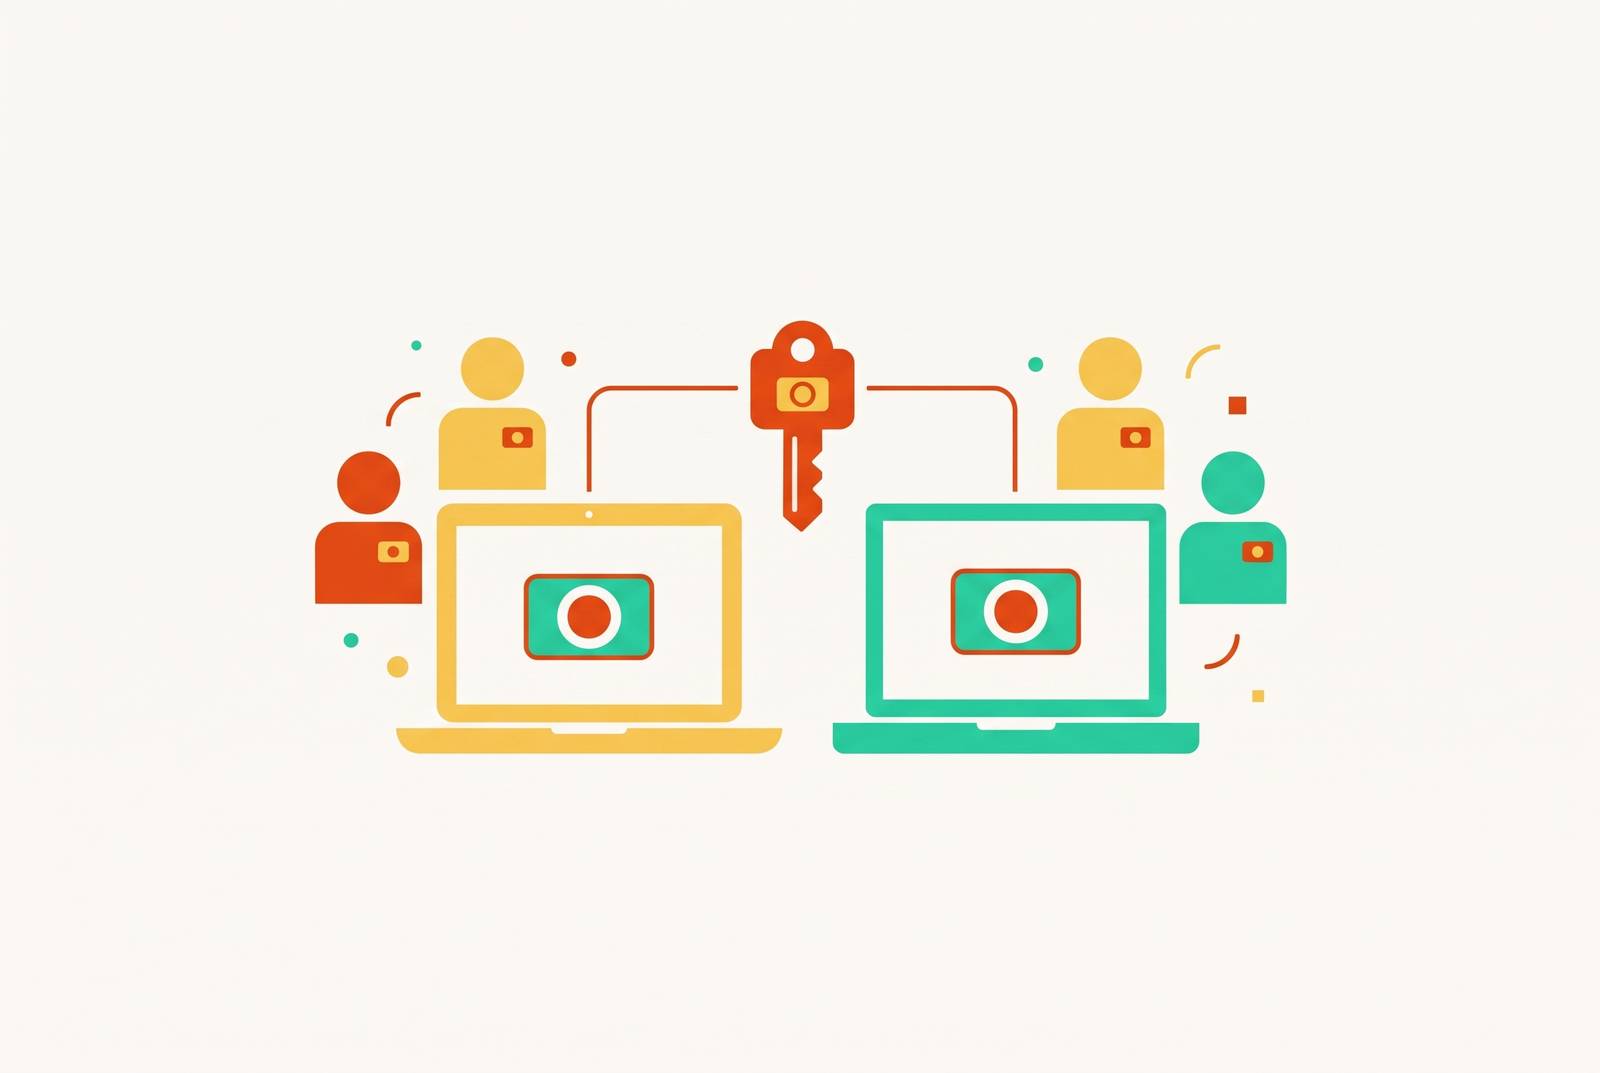
The best screen recorder for a course team is one that keeps recording, editing, and sharing consistent on Mac, Windows, and the web. A single cross-platform setup removes the need to relearn the workflow whenever someone joins on a different operating system. The saving is in software fees and in getting people making course videos instead of taking a course about making course videos.
Why course teams keep retraining people instead of shipping videos
A new contractor on Windows joins a Mac-native course team and asks, “what do I use to record?” The answer should be simple. Instead, a different operating system can mean a different recorder, another setup lesson, and a video that looks and sounds unlike the rest of the library. The team has already taught someone this job, but that training does not transfer with them.
The license fee is only the visible cost. The team also pays for onboarding people again, videos that do not match, and recordings spread across different editors on different machines. When those recordings need updating, the scattered workflow also creates version-control problems. This is a structural problem. As long as the tool changes with the operating system, the team keeps teaching parallel workflows.
What cross-platform actually means for a recording tool
A browser app alone does not meet the standard. For equivalent quality and control, Mac and Windows users need native recording apps. A cross-platform course setup also needs a web recorder for people who use Chromebook and Linux, plus a Chrome extension for browser-tab capture. Those routes should have the same interface and features, so the team can make videos the same way on each device.
Course creators need to capture the screen, the camera, or both, with system audio recorded together with the microphone. A software lesson that demonstrates a sound needs that sound in the recording. Longer walkthroughs also need clips that combine into one video. That lets a team build a lesson in parts without having to get through it all in one flawless take.
These are more useful criteria than “available everywhere.” Platform coverage tells the team who can open the tool, while workflow parity tells them whether they can all follow the same instructions. For a team choosing a recorder, the lesson is to evaluate the whole route from capture to finished video. A shared starting button is not enough if everyone takes a different road afterward.
The recording features that eliminate mid-session restarts
A presenter gets most of a demonstration right, then stumbles over the last step. Recording in clips allows that bad take to be redone, rearranged, or removed without disturbing the useful work before it. Because the smaller takes combine automatically, the creator does not have to choose between starting over and accepting an obvious mistake. The recording stops being an all-or-nothing performance.
Confidence also depends on what the presenter can see. A built-in teleprompter keeps speaker notes visible to the person recording but invisible in the finished video. That helps someone who knows the subject but feels less comfortable delivering it to a camera. A camera preview solves a different problem by showing the framing during the take. Finding out the lighting was bad after finishing a lesson is a dull kind of suspense.
With upload happening during recording, the video is ready to edit or share when the presenter stops. That removes the post-session export wait between explaining the lesson and polishing it. Together, these features address the moments where non-expert creators tend to lose time, rather than merely adding more controls for them to learn.
Pre-recording habits that make every team member's output consistent
The interface cannot standardize everything on its own. The team lead should also give each new member the same short pre-recording checklist. Start by outlining the steps to demonstrate, opening the needed tabs and tools, and closing notifications and messaging apps. Use test or demo data and keep real customer information out of the recording. These habits keep the recording focused and leave fewer avoidable interruptions for the editing stage.
An external microphone, even a budget USB model, outperforms a built-in laptop microphone. Record in a quiet room and check audio levels before starting, rather than treating sound as something to rescue later. The team should also standardize screen resolution. Otherwise, videos can look subtly different simply because a different machine recorded them.
The same shared instructions should cover pacing, mouse movement speed, and narration style. Those choices help a course library feel coherent rather than like a relay race with ten different commentators. Keep each video to a single concept. Marquette University's Learning Technologies guidance says to keep videos under ten minutes and split longer ones into parts. A focused recording also gives the editor a clear boundary, because the lesson already has a defined beginning and end.
Editing course videos without a background in video editing
If the recording moves into another application, the new team member now needs to learn a second tool before finishing the first assignment. Keeping edits inside the recorder removes that handoff. Transcript-based editing also lets a non-editor work with the spoken content without first learning a timeline. The person who explains the lesson can also do the work to make it clear.
Trim the start and end, cut filler words, add zoom effects around key parts of the interface, then normalize audio so the volume is the same across videos. One-click removal of “um,” “ah,” and “uh” handles a common cleanup task without asking someone to scrub a waveform. The goal is a lesson that sounds deliberate.
Automatic zooms address the moment when a presenter points out a control that learners can barely read. To generate them, open Effect, click Generate zooms, and choose Adaptive, Subtle, Moderate, or Intense. The first pass remains editable. Each generated zoom can be moved, retargeted, split, or deleted, so automation does not dictate the final emphasis. Auto-apply zooms in Preferences adds them after the recording finishes uploading, including when a creator forgets to add them manually.
Layout choices can remain flexible for the same reason. When the screen and camera are captured as separate sources, the editor can switch between side-by-side, picture-in-picture, and full-screen layouts afterward. Deferring layout choices until editing lets the presenter focus on explaining the subject during the recording session.
Subtitles, transcripts, and accessibility across a multilingual course team
The shared workflow must also work for modules outside the team's main language. If a lesson in another language needs a separate subtitle tool, the team has acquired another branch in its process, even if recording and editing stayed together. Transcription in a wide range of languages helps the team use the same workflow for those modules. Language support therefore belongs in the evaluation of the workflow, before the first international course is ready.
In-tool subtitles remove another handoff from the process. The team does not have to send the finished video to a third-party caption service or re-sync captions after export. Recording, editing, and subtitle generation remain parts of the same job. For learners, subtitles add another way to follow the material, while for the production team they avoid making accessibility a separate software assignment.
Sharing and analytics without a separate hosting step
A finished video is not much use if nobody can reach it. Requiring an MP4 export, an upload to a host, and a separately generated link breaks the workflow back into several tools. Hosted sharing closes that gap by making the edited video available as a link. Zooms and other effects should play in that hosted version without an export first. The team shares the polished lesson.
Views, watch time, and engagement help the team understand whether a video is being watched and whether it may need updating. Comments provide a place for questions and clarifications, while password protection, custom branding, and embeds cover other course-sharing needs. An optional high-resolution MP4 export remains useful for an LMS or offline context.
A hosted setup walkthrough can be paused, rewound, and watched whenever a new colleague needs it, without scheduling a live explanation or installing a tool just to view it. When questions reveal a missing step, the walkthrough can be updated with that clarification for the next arrival. Record the setup once and put it in a shared library.
Pricing and plan structure for teams of different sizes
A unified workflow still has to justify its invoice. A per-user license that costs more than the retraining it removes is not automatically the practical choice. Nor does “one license” mean an entire team pays for one seat. The relevant model here is a shared cross-platform tool with per-user pricing, so the bill grows with the team. A team of ten on Pro has a sizable bill each month.
The plan information dated October 30, 2026 says the monthly Pro rate for each user is lower with annual billing and higher with monthly billing. It does not supply exact prices, so an exact team total cannot be stated from that information. With education pricing, institutions and individual educators pay much less than the standard Hobbyist rate. The free plan's limitations for teams are also a real objection.
The financial comparison therefore needs more than a subscription total. The team could otherwise need two or three tools, each with its own license, training to do, and a different workflow to teach whenever someone joins. When the team works out the cost, it should count those demands alongside the per-seat charge.
What the single-tool setup looks like on the first day a new team member joins
The Windows contractor joins the Mac-native course team again, but this time the answer is already in the library. They watch the hosted setup walkthrough at their own pace, pausing where needed. Then they install the native Windows app and follow the team's existing pre-recording checklist. The interface matches what their colleagues use on Mac. There is no separate Windows lesson waiting behind the first lesson.
They prepare demo data, check their microphone, and record the walkthrough in clips. If they stumble, they can replace that take without having to give the whole explanation again. When they finish recording, they use the transcript to edit, remove filler words, and adjust the zooms around the controls learners need to see. Subtitles stay in the same workflow. They share the finished lesson as a hosted link with the viewer analytics the team already uses.
For a colleague with a Chromebook or Linux machine, the web recorder supplies the recording route without a separate feature workflow. Across those devices, the tool's defaults and the shared checklist govern resolution, audio level, zoom style, and subtitle format. The team lead does not have to repair consistency video by video. “Zero retraining” means no new tool curriculum because the operating system changed, with guidance still available.
That distinction makes the setup useful beyond the first hire. The walkthrough remains available, and clarifications can improve it for whoever joins next. Each new member who makes a course video that matches the others without a separate training session gives the team more proof that the setup works. The value compounds with every arrival, rather than ending when the first recording is finished.
Sources
- Microsoft Teams and recording video // Learning Technologies // Marquette University
- Online Screen Recorder
- Best Screen Recorders in 2026: 10 Free & Paid Tools Compared
- Best Screen Recorders With Automatic Zooms and Hosted Sharing (2026)
- Best Screen Recorder for Mac in 2026: 10 Apps Compared
- Screen Recorder for Windows