How to Ship a Polished Software Tutorial From First Recording to Student-Ready Video Without Anyone Else Touching the File
A one-tool workflow gets solo creators from recording to publish.
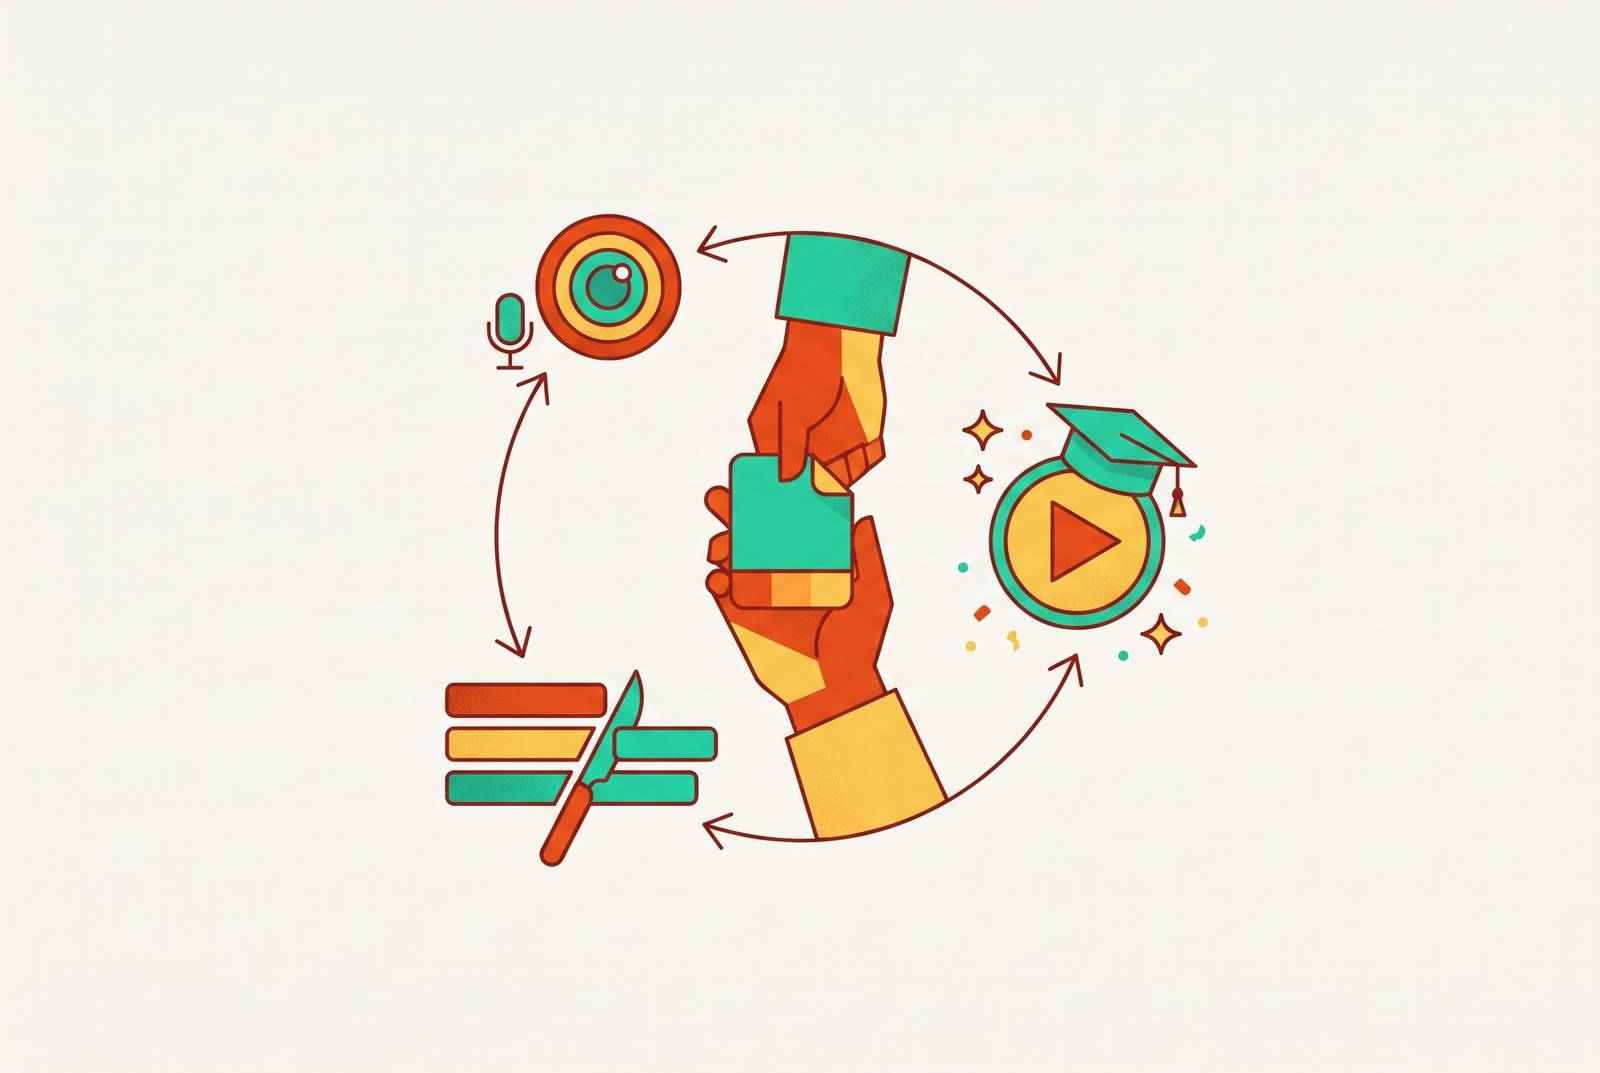
Shipping a polished software tutorial without a video team is a workflow problem first. The best approach is to keep recording, editing, captions, and sharing in one tool, with a human review before publishing. For a solo creator, removing handoffs does more for getting a lesson out the door than adding another specialist app to the collection.
Why solo tutorial creators keep shipping late — and what actually breaks the workflow
The work stalls both within steps and between them. Moving from a recorder to an editor, a caption tool, and a hosting platform creates four points of failure, each with its own export queue, file format, and login. Each move makes the creator stop teaching to deal with files. That is a second job nobody applied for. The most damaging gap comes after editing, when render lag separates a finished lesson from a shareable link and gives the creator a reason to leave it unfinished.
Specialist tools can have better features for some steps. That is a fair objection to an all-in-one workflow. But a solo creator pays for those gains in switching time and lost concentration, without a teammate to take over the next stage. The useful comparison is therefore not which app has the longest feature list, but which setup gets an accurate tutorial through the whole process.
What to decide before you hit record — and why those decisions determine every edit downstream
Treating recording as improvisation is the first expensive mistake. Before capture begins, decide what the viewer should be able to do, which steps belong in the lesson, and what should be on screen. Set the resolution and scope before there is footage to rescue. For a complex subject, planning focused micro-modules also cuts the time spent recording and editing each one. Those decisions can separate a fifteen-minute cleanup from a three-hour rescue operation.
Screen preparation is also a publishing safeguard. Use test or demo data and keep real customer information off screen, because exposing it during capture may stop the video from being published even after editing. Open the tabs needed to show the steps and close notifications before recording. Then give audio its own attention. An external microphone in a quiet space produces narration that post-processing cannot recreate from built-in mic audio, and even a basic USB microphone is a substantial improvement.
Pacing needs a plan, too, though not a stopwatch audition. Pause for one-to-two seconds after each major action so the viewer can absorb it before the narration moves on. If a mistake happens, pause for three seconds and redo the step. That gap becomes a clean edit point. With the scope, screen, sound, and pacing settled, a well-prepared session typically needs only light editing.
How to record your screen without breaking concentration — and what the recorder should handle natively
A recorder should disappear while the creator shows how the product works. An invisible or minimized interface keeps the focus on the software being taught, while floating toolbars and notification prompts can end up in the footage.
Capture modes should fit the lesson’s boundaries. Full-screen recording, single-window capture, and a custom region each serve different demonstrations and help limit irrelevant desktop space. Sound needs similar control. Simultaneous system audio and microphone capture, with independently adjustable levels, avoids the workaround imposed by a recorder that handles only one source. A face-in-corner webcam view can also make narration feel personal and direct for both educator-made lessons and customer-facing walkthroughs.
The end of capture should not create another task. A recorder that uploads on stop and generates a shareable link immediately removes a separate upload from the path and an early point where momentum can break. The buying criterion is continuity from capture into review, with the needed screen, camera, and audio controls already present. More buttons are not the same as fewer interruptions.
What AI editing actually does in a tutorial workflow — and what it still needs a human to check
AI editing is a first-pass labor layer. It can remove silences and filler words, assemble a rough cut, detect scenes, and generate captions. The creator still owns the message, the order of the explanation, technical accuracy, and final approval. A tutorial can be neatly trimmed and confidently wrong.
“Remove filler words but keep the pause before the punchline” gives an editor a specific boundary, while “make it better” leaves the result unpredictable. The practical loop is to upload the recording, describe the edit, review the rough cut, add and check captions, refine with follow-up prompts, and export. In an integrated workflow, capture feeds that process without a separate app handoff. Transcript-based editing further lowers the barrier because cutting a phrase feels like editing a document.
Accuracy review remains the human checkpoint. A missing “not” can reverse an instruction, and model names, feature labels, and keyboard shortcuts need particular attention in generated captions. Silence removal also needs judgment when a pause gives the viewer time to understand a step. The answer to mechanical-looking AI edits is not necessarily more manual cutting.
Vorec's 2026 guide identifies AI narration from silent screen recordings as the single biggest innovation in screen recording since cloud sharing. With that approach, teams making lots of tutorials can do without quiet rooms and repeated narration takes. Reuse offers another gain. Once caption styling, rough-cut rules, and clip format work for one recording, batch automation can use that recipe for all the recordings in a folder.
Captions, layout, and color — the finishing layer that determines whether the tutorial looks trustworthy
Captions let viewers follow a demonstration without sound in a shared office or on a mobile device, so they are not an optional decoration. Their placement is part of their usefulness. Keep instructional labels and callouts in the top two-thirds of the frame when captions occupy the lower third, so one layer does not cover the other.
A creative grade that changes the appearance of a UI element can make the demonstration differ from what the viewer sees in their own account. Keep product UI colors as they are, and use backgrounds, transitions, and caption styling to add creative touches. Consistency builds confidence across a tutorial series.
Narration belongs in this quality-control pass as well. If the action is already visible, the voiceover should explain its context. Repeating the obvious gives the viewer twice as much to think about without helping them understand. Together, readable captions, unobstructed labels, faithful colors, and useful narration make the lesson easier to trust. These are also the checks solo creators are tempted to skip to reach publish, and skipping them can lose viewers for good.
Structuring a software tutorial so viewers finish it — scope, length, and the single-problem rule
The structural rule is one video, one outcome, and one audience. Someone who needs a specific answer should not have to sit through a catalogue of features to find it. These boundaries belong in the script, before recording, because editing cannot easily turn an unfocused tour into a focused lesson.
For educators, the opening should make the problem concrete before explaining the solution. Why does this step need doing at all? Once that purpose is clear, visual breaks or transitions can separate stages so viewers register when one task ends and the next begins. Transcript timestamps then give them a way back to individual steps without rewatching everything. A question at a natural pause can also turn passive viewing into active participation, and Edpuzzle supports requiring an answer before playback resumes.
SaaS onboarding benefits from the same task-based structure. “Connect your first data source,” “Invite a teammate,” and “Publish your first dashboard” match urgent questions better than a comprehensive feature tour. Complex subjects can become a series of focused micro-modules, each covering one sub-task that viewers can find and replay. Short clips are faster to re-record when the product changes, and batch processing can apply an established edit recipe across the series without manual repetition.
Getting the finished video to the viewer — format, aspect ratio, and sharing without render delays
Distribution is part of production. A tutorial in an export queue, or in the wrong format for its destination, has not shipped. Confirming the format and aspect ratio during the sharing step prevents that final mismatch. A tool that generates a shareable link when editing is complete also removes the separate render wait. For a customer-facing walkthrough, being ready when the support conversation ends is more useful than arriving after the customer has given up.
The link needs the right presentation and permissions. A thumbnail that shows what the lesson covers, with a short text label, helps viewers know what to expect before they click and choose the right lesson. Internal tutorials that show proprietary workflows or pre-release footage also need password protection and the right access controls. Those settings belong in the sharing step. Managing them in a separate hosting platform would reintroduce the handoff the workflow was designed to remove.
Viewer analytics showing who watched, how long they watched, and where they dropped off can inform whether a clip needs restructuring or re-recording. An integrated tool can remove the file transfers, separate uploads, and render delays between those stages, provided it supports the required workflow. It cannot ensure that viewers learn, so the lesson still needs a clear structure and a person to check it.
The complete solo workflow assembled — from first recording decision to live share link, with no other app open
For the next tutorial, the full sequence can stay in one production tool, apart from the software being demonstrated. Start with a single outcome and map five to seven steps. Open the tabs needed with demo data, close notifications, set the resolution, and get the external microphone ready. Then capture the screen, camera, and system audio together, using a teleprompter for scripted sections if needed. Keep the recorder out of the frame, and pause and redo after mistakes.
Move the recording into the part of the tool that handles AI editing. Ask for silence and filler-word removal, a rough cut, and draft captions, then review the result for meaning and technical accuracy. Trim the opening and close, and add callouts or zoom effects where needed. During the finishing pass, preserve product UI colors and apply the series’ consistent visual treatment. Keep captions and instructional labels clear of each other, and check that narration explains the context of the visible action.
Confirm the aspect ratio and format, add a descriptive thumbnail, set the appropriate access controls, and generate the live share link to send or embed. With all these stages supported in one place, a process that stretched across days can finish in the same session. No file moves between production apps, no format conversion interrupts the sequence, and no separate render queue delays the link. The handoff count is zero.