Screen and Camera Simultaneous Recording for Course Demos
Separate audio and video tracks let you fix mistakes in editing instead of re-recording.
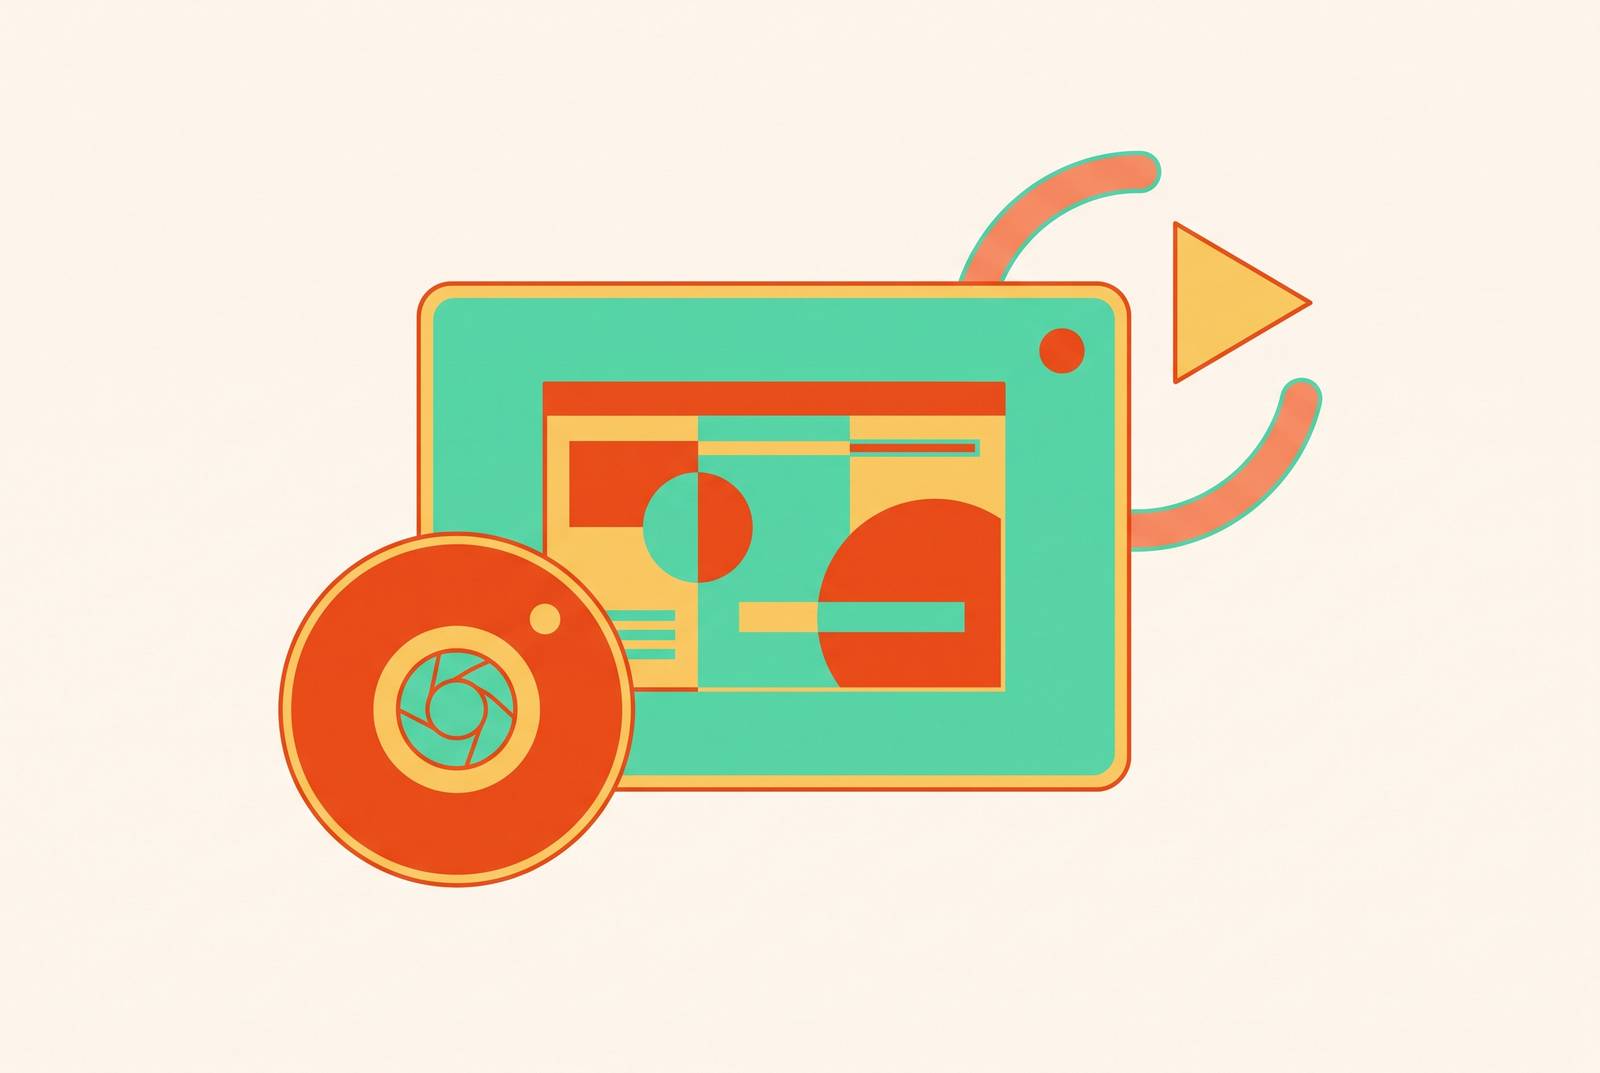
Hitting record on your screen and your webcam at once feels like a single action. Whether your course footage looks professional or amateur comes down to whether your tool treats those two streams as separate, editable tracks, or welds them into one file you can't take apart later. On a Mac, QuickTime is the clearest example of the trap: it has no native way to capture screen and webcam as a true combined output. The usual workaround, floating a webcam window over your screen recording, just gives you two separate files sitting side by side, with no way to overlay one on the other.
That distinction sounds minor until you hit the moment it breaks your lesson. Say your webcam bubble happens to sit right over the button a student needs to click. If your tool baked that layout into the recording permanently, there is no fix waiting for you in editing. The moment is gone, and so is the re-record-free afternoon you were hoping for.
Audio has the same trap door built in. Plenty of tools that do manage to capture both screen and camera still dump your microphone and your system sound into a single combined audio track. That means a notification chime, an app alert, or your laptop fan kicking on gets permanently fused to your narration. You can't pull them apart after the fact, because they were never apart to begin with. Fixing that requires planning for separation before you ever click record, which is the whole argument this piece is building toward.
What separate tracks give you during editing
Separate tracks are what turn editing from cleanup duty into actual craft. When your screen, webcam, microphone, and system audio are each their own track, you're not reacting to mistakes. You're making choices.
Take the webcam feed. When it's recorded as its own track, you can move it, resize it, or hide it at any point in your timeline, without touching the screen content underneath it. Say you need to shrink the bubble during a dense configuration screen and bring it back full-size for the wrap-up. That's a two-second edit, not a reason to start over.
Audio works the same way. A dedicated microphone track means you can run noise reduction, adjust your levels, or snip out a flubbed sentence, all without disturbing the system audio sitting next to it. Flip it around: a separate system audio track lets you quiet or delete a stray UI sound without laying a finger on your narration. Neither fix is possible when both sounds were captured as one blob.
Track separation also means you can change the entire visual rhythm of a lesson after the fact. You decide whether to cut from a full-screen slide to a talking-head moment and back in the edit, based on what the lesson actually needs once you can see it assembled. That matters more for courses than for one-off videos, because most courses get recorded in batches over several days. Nothing is sealed shut the moment you stop recording. A decision made on day one can still be revised on day four, long after the footage is in the can.
Presenter layout options for course demos
Layout is an instruction to the student about where to look, and the right answer changes depending on what you're teaching in that exact moment.
Picture-in-picture, the webcam bubble sitting over the screen, works as the default for most software walkthroughs. If you're demonstrating a three-step checkout flow, the student needs to track the form fields the whole time, but they also benefit from seeing your face in the corner for a sense of trust and pacing. The bubble stays out of the way while still staying visible.
Side-by-side, screen on one side and camera on the other, earns its keep when your gestures or expressions are doing real explanatory work. If you're walking through why a database needs normalization before you ever open a code editor, your face and your hands carry more of the lesson than a static diagram does. That's a side-by-side moment, not a picture-in-picture one.
Full-screen camera, with the screen hidden or cut away entirely, fits the start of a module, when you're setting expectations and building rapport before any software even opens. It also fits the wrap-up, when you're summarizing what the student just learned and there's no new interface to look at. Nobody needs to see your cursor hovering over nothing while you recap.
Full-screen screen, camera hidden, is the right call when a UI sequence is dense enough that any distraction costs the student the thread. If you're demonstrating a twelve-step deployment pipeline with no room for a missed click, let the screen take over completely, then bring your camera back once the critical steps are behind you.
The mistake most creators make is picking one layout and being stuck with it, because their tool only lets them set it before they click record. A tool that lets you adjust layout after capture, or switch it mid-timeline, hands you a decision you'd otherwise have to get right on the first try, under pressure, with no do-over.
Audio setup decisions that affect every track you capture
Audio is where course quality quietly gets decided, often before anyone's even thought about the camera. A few decisions made before you hit record shape every track you capture afterward.
Microphone choice sits at the top of the list. A dedicated USB or XLR dynamic microphone recording at a 48 kHz sample rate matches standard video delivery formats. That consistency matters more over a long session than it sounds: mismatched sample rates are what cause audio to slowly drift out of sync with video the longer a recording runs.
Room acoustics come before gear upgrades, not after. A rug, a curtain, a few cushions placed just out of frame will cut down echo more effectively, and more cheaply, than swapping in a pricier microphone inside an untreated room. If the budget is tight, treat the space first.
Capturing system audio as its own track matters just as much as the microphone choice. A notification sound or UI chime can be lowered or deleted entirely in editing, without touching the narration sitting next to it, but only if the recording tool kept them separate from the start. There's no fixing that after the fact if they were recorded as one track.
One more check, easy to skip and expensive to forget: record and export at a 16:9 resolution, such as 1920×1080 or 3840×2160. Skipping it risks black bars appearing once the file lands on a course platform or YouTube. It takes ten seconds to confirm before recording and saves an entire re-record after the fact.
Requirements for a tool built for simultaneous screen-and-camera recording
A short list of things are worth checking before you commit to any recording tool, regardless of brand.
Confirm the tool actually outputs separate tracks. Screen, webcam, microphone, and system audio should each show up as their own editable layer, not as one merged file you're stuck with.
Check whether layout can be changed after recording. The webcam overlay should be something you can reposition or resize once you're in the editor, not something locked in place the moment you clicked record.
Look for a built-in editor. Exporting raw footage out to a separate editing program adds a handoff, a file to manage, and a step where a lot of creators simply stop and publish the raw cut instead. A tool that handles recording and editing in one place removes that excuse.
Ask whether editing happens through a transcript. For creators who don't think of themselves as video editors, deleting a sentence of text and having the matching video cut out automatically is a far friendlier interface than dragging clips around a timeline.
Check how long it takes to go from finished edit to shareable link. Rendering delays between finishing an edit and having something to send a student disrupt the rhythm of batching lessons together. The shorter that gap, the more lessons actually get finished in a sitting.
Look for a teleprompter feature. Keeping your talking points layered over the lens helps you hold eye contact with the camera, especially in full-screen-camera moments when you're explaining something.
How specific tools handle the screen-plus-camera workflow in practice
No single tool wins on every one of those criteria, so the right pick depends on whether recording flexibility, editing depth, or sheer speed to a finished lesson matters most.
Camtasia is a long-standing course-creation tool that records screen, camera, microphone, and system audio together, paired with its own editor and a set of AI features built to speed up the editing pass. On its Essentials plan and above, it also exports SCORM packages, which matters directly for anyone delivering training through a corporate LMS.
OBS Studio is free and open-source software, distributed under the GPLv2 license. It works as a scene-based compositor, letting creators build layouts that combine screen capture, webcam, capture cards, and browser windows before or during recording. The tradeoff is a real learning curve compared to tools built specifically for course creation, and OBS has no built-in editor once you're done recording.
ScreenFlow, Mac only, offers recording and editing control on par with Camtasia inside the Mac environment, with multi-track editing that places screen and camera clips on a shared, layered timeline.
Screen Charm, also Mac only, applies smart auto-zoom that follows cursor movement and adds zoom effects automatically after recording. It includes a built-in editor for trimming and refining those zooms, priced as a one-time purchase with high-resolution export, though its editor is a lighter tool for anyone who needs deep multi-track control.
Wondershare Filmora records from a built-in or virtual camera at the same time as the screen, with adjustable camera position, resolution, and audio input set before recording starts. It leans on AI features like auto-subtitle generation alongside editing tools such as speed ramp and motion tracking, functioning primarily as an editing suite that happens to record, too.
How AI editing changes post-recording work
AI editing features don't replace judgment about what a lesson needs. What they remove is the repetitive, time-consuming cleanup work, cutting silences, writing captions, trimming rough footage, that used to stand between a finished recording and something publishable.
Transcript-based editing is the clearest example. Deleting a paragraph of text deletes the matching video segment along with it, which is a faster and far less intimidating way to do a rough cut than scrubbing back and forth across a timeline, especially for anyone who doesn't think of themselves as a video editor.
Auto-captioning has reached a point where AI transcription produces highly accurate captions that only need a quick review and a style pass. That serves two audiences at once: students who need captions for accessibility, and the large share of viewers who simply watch with the sound off.
Automated silence and filler-word removal can take a 20-minute raw take and tighten it into a cleaner lesson without anyone reviewing it clip by clip. What used to be an hour of scrubbing becomes a few minutes of confirming the cuts.
There's a ceiling to how far this automation goes. These tools offer less frame-by-frame control than editing everything by hand. For the average course demo, that tradeoff is worth making. For a genuinely complex UI sequence where timing has to land exactly right, manual attention still earns its keep.
Building a recording workflow you can repeat across an entire course
A single great lesson doesn't make a course. What makes a course is a workflow simple enough to repeat, without fail, across every lesson in it.
Batch similar lesson types together. Recording all your high-energy intros in one sitting and all your deep technical demos in another keeps your tone consistent within each batch and cuts down the mental tax of switching modes every few minutes.
Run the same checklist before every single session: resolution set to 16:9, microphone input confirmed, system audio routed correctly, camera position locked in. That five-minute ritual is what stands between you and the re-record that breaks your momentum halfway through a batch.
Keep lessons short. Shorter sessions match how students actually pay attention, and they're also easier to record without fatigue creeping into your voice or energy by the last few minutes of footage.
Change something visual or auditory every few minutes, whether that's cutting from a screen demo to a talking-head recap or zooming into a specific UI element. That rhythm keeps students oriented and gives an editor natural points to cut, rather than one long unbroken take with nowhere obvious to trim.
Use one tool for the entire pipeline, recording, editing, captioning, and sharing. Every handoff between separate tools is a place where creators stall out and publish something rougher than they meant to. Fewer tools in the chain means a better chance the workflow survives all the way to lesson fifteen.
Build in room for mistakes without forcing a full restart. A workflow that lets you pause, re-take a section, or cut a flubbed line straight from the transcript removes most of the dread that comes with being on camera. That dread, more than any technical issue, is the most common reason multi-lesson course projects stall out before they're finished.