CapCut vs. Dedicated Screen Recorders for Course Lessons
An integrated recorder cuts per-lesson work that CapCut's handoffs add.
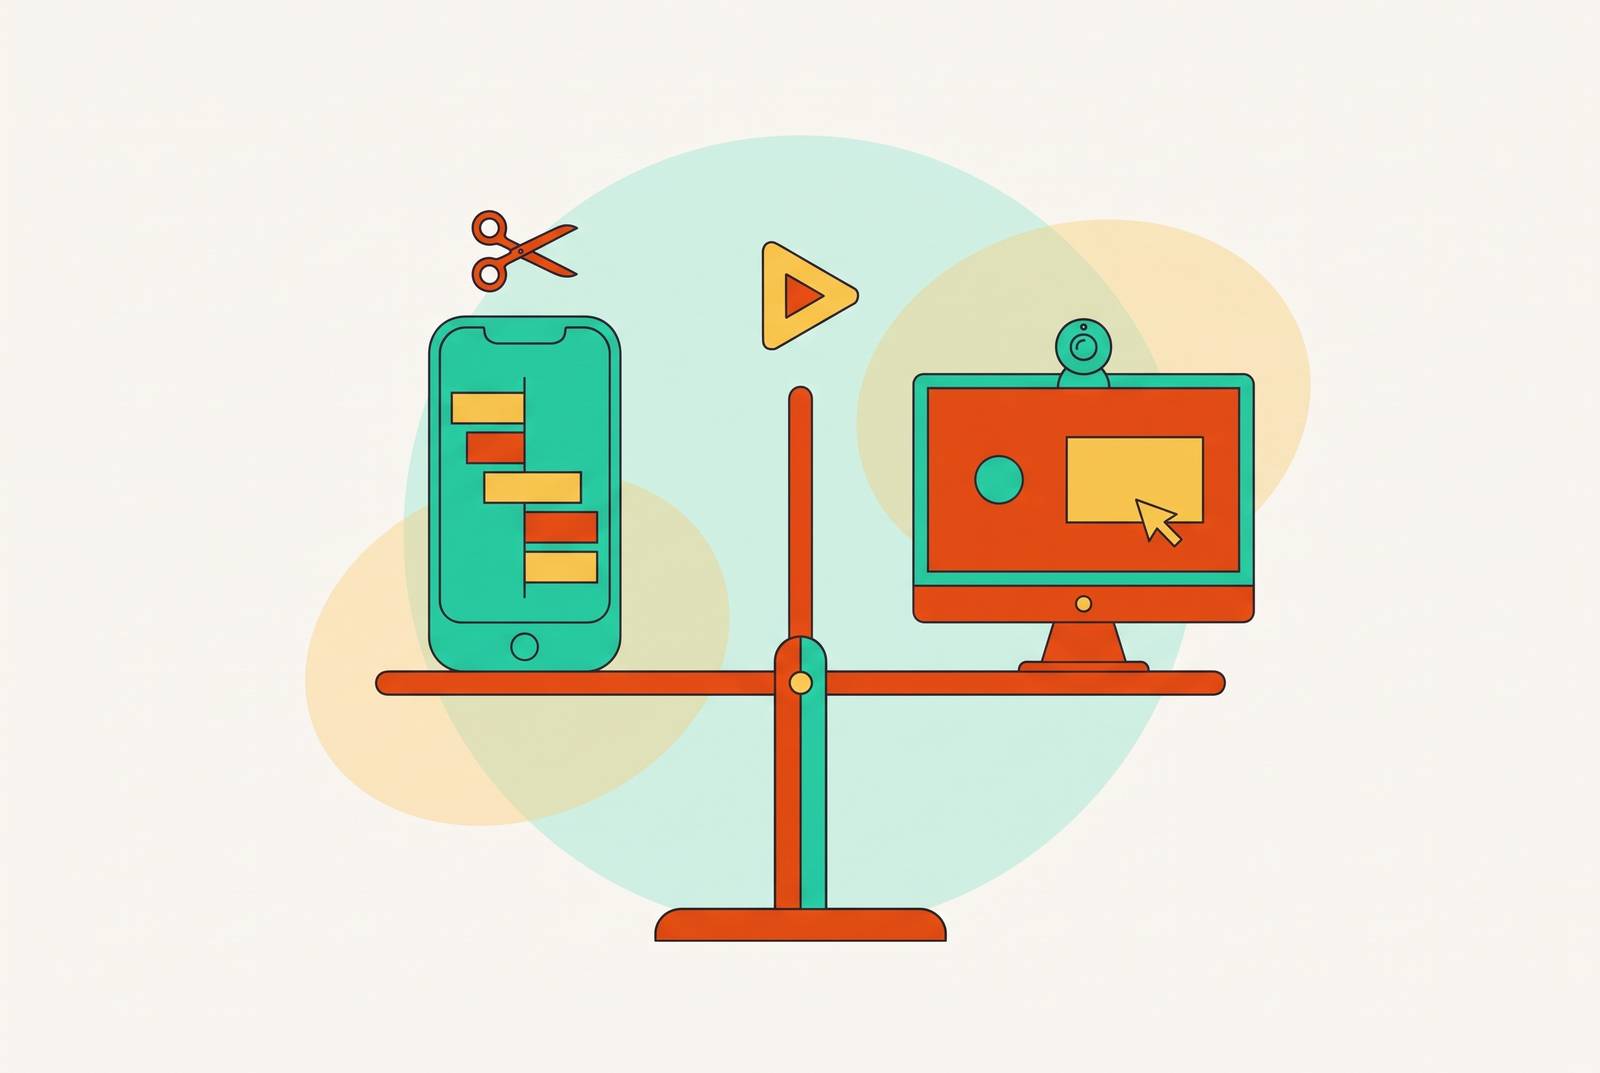
For software tutorial courses without a video team, an integrated screen recorder and editor is the best overall fit when the goal is less work per lesson. CapCut suits creators who already record elsewhere and want polished editing, while OBS Studio is the free multi-source capture option that needs a separate editor.
What course creators actually need from a recording-and-editing workflow
A course needs repeatable structure, readable screen content, synchronized narration, accessible captions, and consistent exports. Unlike a standalone video, it may contain tens or hundreds of lessons that must look and sound as though they belong together. Repetition changes the cost of small tasks. A format that is easy to set up once becomes a chore when the same work has to be done for every lesson.
Readability begins before the recording starts, because interface text, code, slides, and settings panels must remain legible at playback size. Editing cannot fully fix a recording made with the wrong capture layout or resolution. Nor can a tidy cut compensate for narration that no longer matches the cursor movement it explains. Learners need to see what caused what. Captions belong in that same foundation, since accessibility is a requirement and manually captioning a 10-minute lesson takes substantial work.
What CapCut can and cannot do as a screen recorder
CapCut has a real, functional native screen recorder in its web version. Under Project, a camera icon in the Media section opens capture options for a single tab, the full screen, or a webcam. Audio options include a separate “Record audio” mode, and the recording lands directly in the project media library. The distinction is what happens next, when the creator drags that footage onto a general-purpose editing timeline.
On mobile, the recording route is different. On Android, the recorder is in the device’s Quick Settings panel, while iOS uses Apple’s built-in recorder. In both cases, CapCut edits the imported footage. The resulting process has two phases, with capture first and timeline editing second. That can work well, but it is not a workflow designed around completing a screen lesson from capture through sharing.
There is also a technical wrinkle with some source footage. Variable frame rate recordings, which are common when recording in a browser or on mobile, can develop audio drift that gets worse in the timeline. The voice gradually stops matching the action. When that happens, the fix is to re-encode the entire file to constant frame rate before detailed editing begins. This problem can affect some CapCut recordings, and resolving it adds another step.
Where CapCut's editing tools genuinely serve course creators
CapCut works best when the footage is already recorded and clean. Its free editing tier gives a creator a capable place to assemble lessons, with a desktop timeline supporting multiple video and audio tracks, keyframe animation, speed ramping, and full color grading. Color wheels, HSL, and curves provide control beyond basic trimming. There is plenty of editing muscle here. CapCut’s nonlinear editing tools can handle a clean tutorial showing software as well as cinematic sunsets.
Its AI tools also address ordinary production problems. Background removal, background noise reduction, and auto reframe can help educators who do not have a studio setup. Auto-captions transcribe narration and produce styled, animated captions, with high accuracy for clear English speech. But technical jargon and heavy accents make those captions less accurate, so someone still needs to check them before they go into a course.
The template and asset library offers another shortcut for subject experts who are less comfortable with video production. Because the library follows current platform trends, it can help them make lessons people want to watch without having to design every part themselves. Udemy offers training in CapCut desktop editing, reflecting genuine learner demand for this workflow. Creators who record with OBS, a device recorder, or a camera can use CapCut’s import-and-edit loop to turn that footage into polished lessons.
What the CapCut workflow costs in time across a full course
For each lesson, the creator must record, import the file or confirm its arrival in the media library, check for frame-rate drift, edit, review captions, and export. Each action is reasonable on its own. The cost comes from repeating the handoffs across a course, particularly when the creator is also the instructor, editor, and person wondering where the afternoon went.
Synchronization makes those handoffs more consequential than simple file management. Screen, webcam, and microphone tracks need to align before cutting begins, because every premature cut creates another alignment point to check. Across a 20-lesson course, that checking compounds. Someone still needs to check the captions, whichever tool makes them, especially when the narration uses terms from a specific field.
Consistency adds a separate layer of upkeep. Fonts, layouts, branding, and export settings must be recalled or reapplied across lessons, since CapCut does not provide the equivalent lesson-template or batch-consistency mechanism of purpose-built tools. For a few lessons, this overhead is manageable, especially for someone already comfortable with the timeline. Across a structured course, or many courses made for an institution, doing the same production work over and over takes the most time.
How do dedicated screen recorders handle recording, editing, and sharing differently?
A dedicated recorder built for course lessons treats capture, editing, and sharing as one connected session. Layout, webcam placement, and audio-source decisions feed into an editor designed around screen content, including sync, zoom-and-pan, cursor emphasis, and caption timing. On a general timeline, the creator adds the teaching aids after placing the footage, though dedicated recorders also differ in what they can do.
Webcam placement shows why that design helps. The creator identifies the navigation menus, settings panels, code, or spreadsheet columns learners must read, then positions the camera away from them. When a section shows a crowded interface, the camera can move or disappear. Similarly, native cursor effects, callouts, spotlights, and zoom-and-pan reduce the manual keyframe work those treatments would require in CapCut, particularly when they recur throughout software tutorials.
Sharing can close the same loop when the tool generates a shareable link or uploads on export. OBS Studio solves a different part of the job. It is a free multi-source recorder with separate microphone and system-audio tracks, stable long recordings, and scene layouts for live or recorded teaching. It has no built-in editor, however, so pairing it with CapCut or another editor brings back a multi-step workflow. Its recording strengths do not make it a complete course-production system, and being free does not establish that any recorder will leave computer performance untouched.
The data-jurisdiction question that applies specifically to CapCut in professional and institutional contexts
Creators at institutions, people who work with minors, and professionals who must follow data rules need a procurement review before choosing the editor they prefer. CapCut is owned by ByteDance, which makes its ownership and data-transfer context relevant to that review. The Irish Data Protection Commission’s investigation found that TikTok “failed to verify, guarantee and demonstrate” that EEA users’ personal data received protection essentially equivalent to that guaranteed within the EU. The finding about TikTok was distinct from any assessment of CapCut.
Creators need to assess whether the platform is suitable for the content being recorded, including screen details, narration, and webcam footage. Proprietary software workflows, internal processes, and sensitive instructional material raise different concerns from public-facing demonstrations. A feature comparison cannot settle that question. An enterprise L&D team or K–12 institution faces a different risk calculation from an independent educator recording a cooking class or personal finance tutorial. Where institutional or professional data constraints do not apply, workflow fit remains the deciding factor.
Matching the right tool to the creator's actual situation
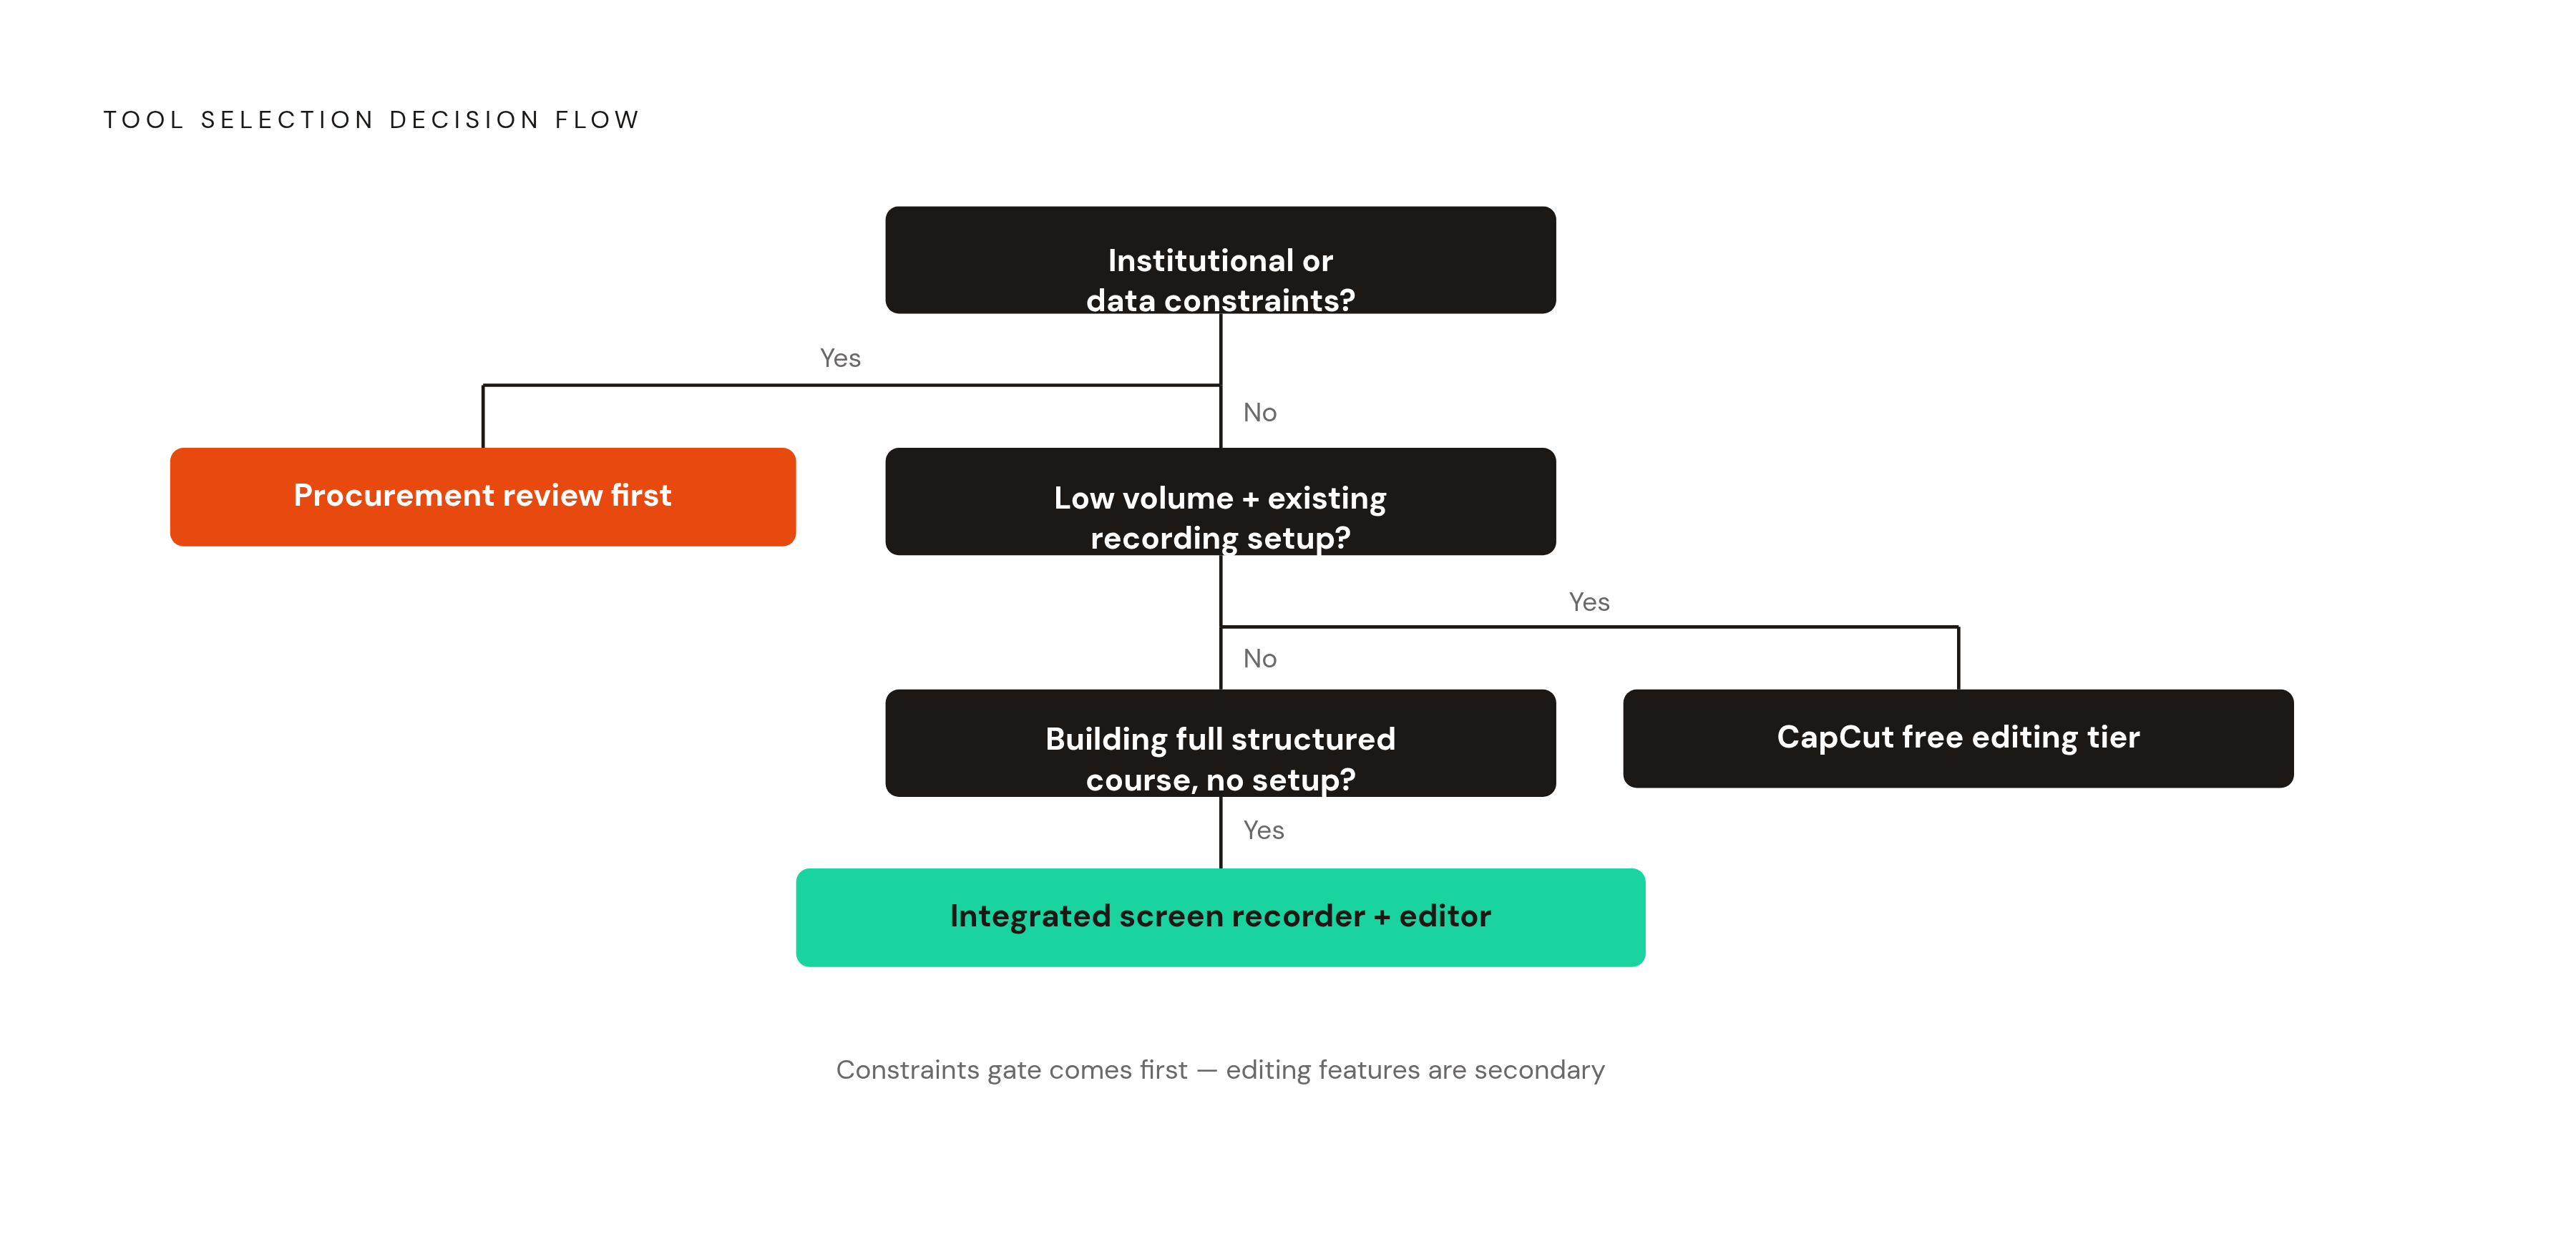
Three variables determine the fit, namely lesson volume, an existing trusted recording setup, and institutional or data constraints. For a solo creator making a small number of lessons, already recording with OBS or a device tool, and comfortable on a timeline, CapCut’s free editing tier is an adequate choice. Its strongest role is polished editing of existing footage. There is little reason to treat the import step as disqualifying when it already fits the creator’s process and repeats only a few times.
For a full structured course, an integrated screen recorder and editor is the best overall category when minimizing per-lesson work is the priority. For quick sharing, an integrated tool can generate a link or upload on export, while OBS with a separate editor suits those who need free multi-source capture. These options serve different jobs. The strongest recording option and the shortest production workflow need not be the same choice.
Institutional buyers have an earlier gate to clear. Data rules can rule out a workflow people prefer before they even discuss editing features. Likewise, a requirement for SCORM, xAPI, interactive quizzes, or branching scenarios points to a dedicated eLearning authoring tool rather than either CapCut or a standard screen recorder. Those requirements change the category of purchase. The useful verdict is therefore specific to the course being built, rather than a universal winner wearing a very small crown.
Practical setup recommendations for each workflow path
For either path, start by working out what learners must read before recording begins. Place any webcam overlay away from navigation menus, settings panels, code, spreadsheet columns, and slide content. Reposition it between segments when the interface changes. Layout is part of teaching. A learner should not have to guess which setting is hidden behind the instructor’s shoulder.
For the CapCut path, set the capture tool to constant frame rate and verify that setting before recording the full lesson. Synchronize the screen, webcam, and microphone tracks before making cuts, using a clap, spoken word, keyboard sound, or visible click as the anchor. Then use auto-captions as a draft and correct technical terminology before export. Establish a naming and settings convention at the start of the course and apply it identically to every lesson. That convention supplies the consistency the workflow otherwise leaves to memory.
For the dedicated-recorder path, choose combined screen-and-webcam recording for most software tutorials and walkthroughs. Use separate captures when substantial webcam repositioning or removal is planned during editing. Audio deserves the same deliberate choice. Record the microphone alone when learners do not need application sound, and add system audio when it forms part of the lesson, as with music tools, software alerts, or language examples.
On macOS, the built-in Screenshot toolbar, opened with Shift-Command-5, does not offer native system-audio capture on macOS 26 Tahoe and earlier. On macOS 27 Golden Gate or later, Options includes an Include System Audio setting, so a virtual audio driver is only required on older versions. Test that configuration before the full lesson. For every lesson, make a short preflight recording to check microphone level, confirm sync, and verify that private desktop content is out of frame.
During editing, remove failed attempts, long waits, repeated clicks, and irrelevant notifications on either path. Preserve the sequence that lets learners reproduce the task. A clean cut that removes the crucial click is still a bad teaching cut.