Screen Recording on a Mac for Course Creation
Planning a course recording workflow matters more than picking the right app.
The question "which app should I record with?" is the wrong first question. The real one: does the whole chain hold together, from the moment you check your mic to the moment a student presses play? Audio setup, display configuration, the recording itself, editing, and export each hand constraints to the next stage. Skipping a setup decision doesn't erase the cost; it moves downstream and gets more expensive to fix. The bottleneck used to be getting a clean screen recording out of a Mac, but that is no longer the case. Editing what you captured is now the hard part, and that means the tool decisions made before you ever hit record are what determine how long editing takes. Record one video badly organized and you'll survive it. Building a 50-lesson course the same way multiplies every inefficiency in the workflow by 50, turning a minor annoyance into a real time cost.
The built-in Mac recorder as a poor starting point for course content
Most people start with what's already on the Mac: Command + Shift + 5 for the Screenshot toolbar, or QuickTime Player. Both bake screen video and microphone audio into one flat file, with no webcam support, so there's no separating tracks, no adjusting levels independently, no trimming one layer without touching another. Once it's recorded that way, it stays that way.
The sharper problem is system audio. On macOS versions before macOS 27, the built-in recorder only captures the microphone. It does not capture sound playing on the Mac itself. Apple only added an "Include System Audio" option to the toolbar in macOS 27, so anyone on an older version who needs to capture software sounds or video playback during a lesson has to find another way in. QuickTime handles a quick message to a coworker just fine. It was never built for a student watching on a phone, trying to read small UI text, follow a cursor around dense software, and hear narration and app sound at the same time.
Audio setup: the decision that most affects whether students finish the course
Video quality gets forgiven. Audio quality doesn't. A slightly soft picture barely registers with a student, but muddy, echoey, or crackling sound makes people close the tab, no matter how good the lesson content is. The built-in MacBook microphone works against you here: it picks up keyboard clatter, fan noise, and room echo, all of which turn a 20-minute lesson into something genuinely hard to sit through.
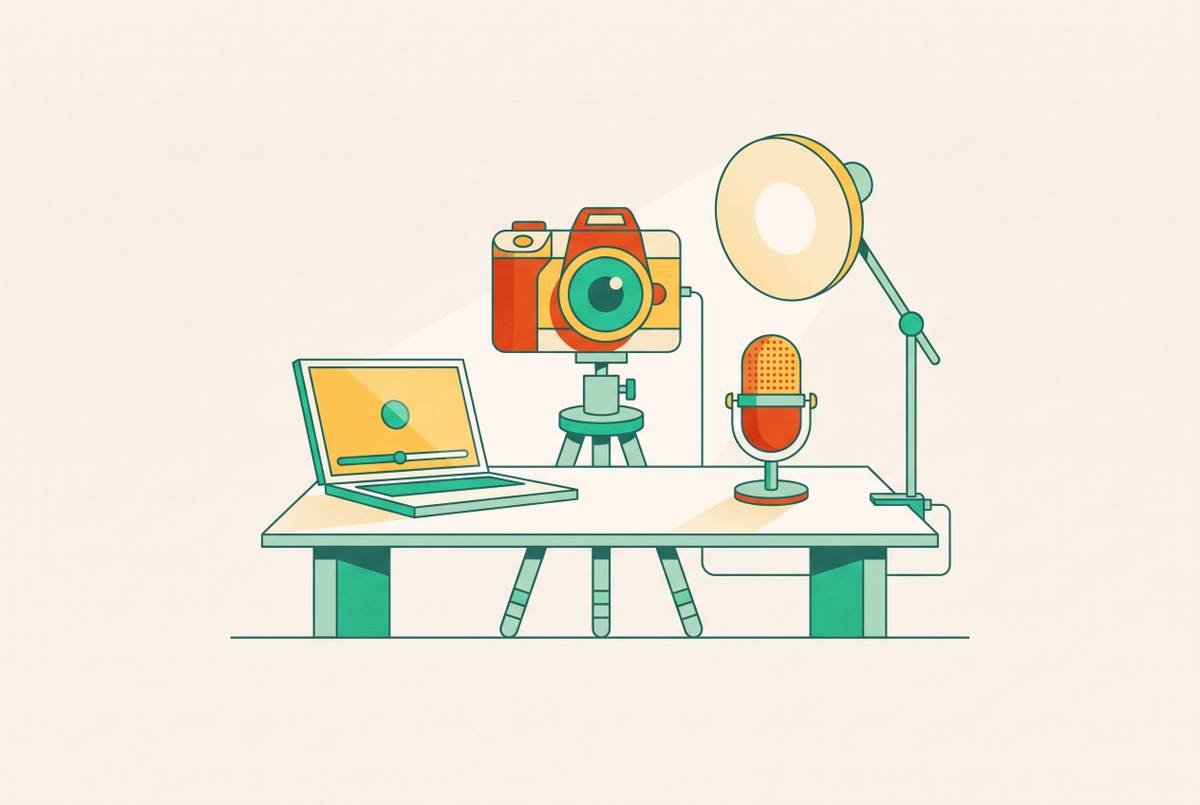
An external mic fixes most of this, and the right one depends on how the lesson gets recorded. A USB condenser microphone like the Audio-Technica AT2020 USB or a Blue Yeti plugs in directly and delivers strong quality for the price, which suits anyone recording from a fixed desk setup. A lavalier microphone, something like the Rode Lavalier GO, clips to clothing and keeps a constant distance from the mouth, so volume doesn't swing around if the presenter moves. A headset with a built-in mic, like the Rode NTH-100M, is simple and reliable gear, usually a step below a dedicated condenser in raw audio quality but far better than nothing. If you record in a noisier room, a dynamic microphone rejects background noise, including fan hum and typing, more effectively than a condenser does.
None of this matters if it goes untested. Before you commit to a full lesson recording, record a short clip, put on headphones, and listen. Check that the voice sounds clear, that loud syllables aren't clipping, and that any system audio being captured is audible without drowning out the narration.
Preparing the Mac display and environment before pressing record
Fixing a visual problem after recording is harder and more expensive than preventing it before recording starts. A cluttered desktop, text too small to read, or a notification banner sliding across the screen mid-lesson can't always be edited out cleanly, so the prep work happens before the record button, not after.
Set the display to a scaled 16:9 resolution, since that's the standard expected by Udemy, Teachable, Skillshare, and YouTube alike. Bump the text size up until code, menus, and labels stay readable at normal playback size, remembering that a meaningful chunk of students will be watching on a phone screen, not a monitor. Hide the Dock, close any extra tabs, and clear personal bookmarks out of view, since none of that belongs on a student's screen. Turn on Do Not Disturb or Focus mode so a stray notification sound or banner can't sneak into the recording. Close every app not needed for the lesson, because each one still running is pulling resources that can cause frame drops during a longer recording.
Beyond the display itself, set the app or project being taught to the exact state the lesson should open on before you press record. Configuring software live, on camera, wastes time and leaves students confused about where the lesson actually begins. If a webcam overlay is part of the plan, put a light in front of the presenter, leave breathing room around the face in frame, and make sure the camera bubble isn't sitting on top of anything the student needs to see on screen.
Recording technique: what to do during the take to minimize editing afterward
A perfect take isn't the goal. An easy-to-edit take is: clean entry and exit points, mistakes that are easy to recover from, and pacing a student can actually follow without rewinding. Nothing reduces editing load more than discipline in how a lesson is structured in the first place, more even than whatever editing software gets used afterward. Follow one topic per recording. A focused 10-minute tutorial teaches better than a 45-minute session trying to cover five concepts at once, and it's far easier to re-record a short segment than an hour-long one if something goes sideways partway through.
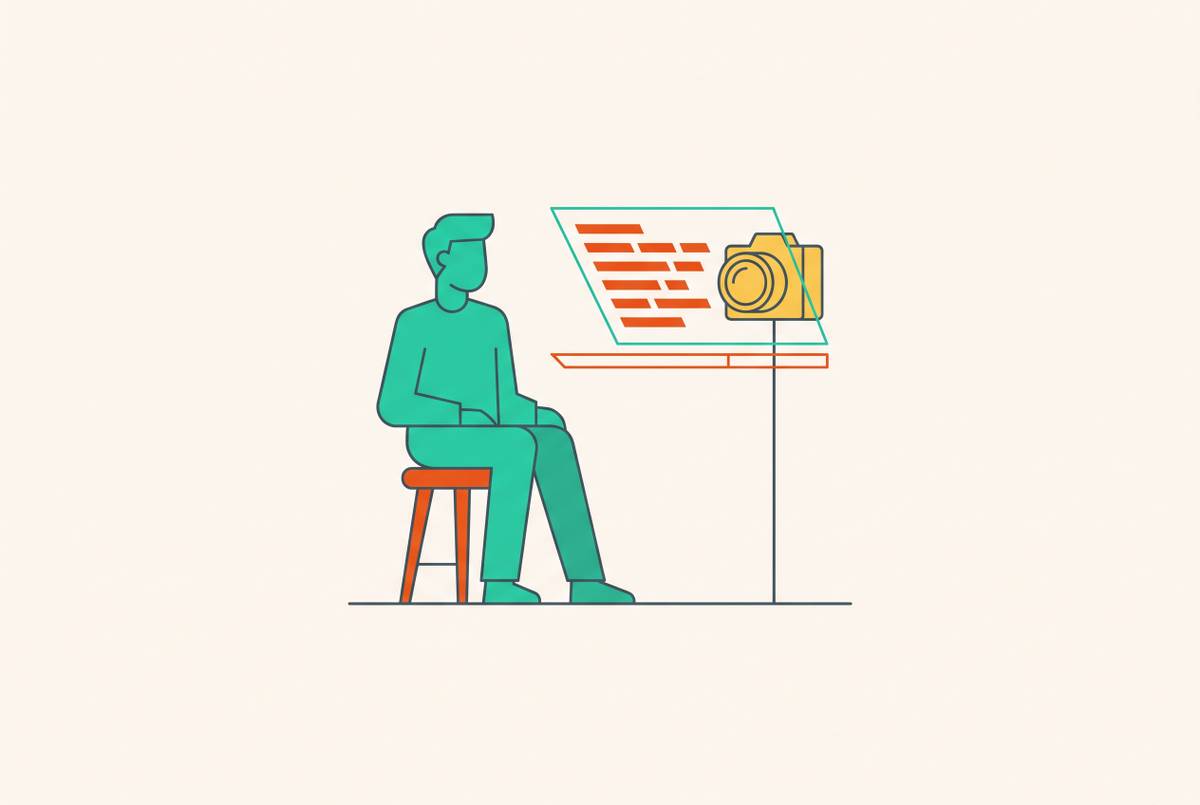
A few habits during the take pay off later. Speak at a steady, calm pace, in short sentences. Pause briefly before each important click, since that gives the viewer a beat to see where the cursor is headed, and that same pause doubles as a natural point to cut on later. If a mistake happens, don't restart from zero: stop, pause for a second, and repeat the section from a clean point, since the flub itself can be trimmed out afterward. Keep a quick mental or written note of where a cut will be needed, so editing doesn't turn into a hunt through the entire file later. Recording in sections rather than one long continuous take means one bad segment can be swapped out without redoing the whole lesson, and keeping the lesson outline visible, on a sticky note, a second screen, or a printed page, keeps structure intact without forcing anyone to read from a script.
Editing course recordings
Course editing asks for less than a polished marketing video, not more. The goal is clarity, and over-editing a lesson tends to flatten the instructor into something stiff and robotic, stripping out the human quality that keeps a student actually watching.
What gets cut: dead air at the start and end of every clip, false starts and explanations repeated twice, loading screens and build times where nothing relevant is happening on screen, and filler words or long pauses that break the lesson's rhythm.
What gets added, carefully: a brief pause or freeze frame at a moment a student might otherwise miss, consistent lower-thirds, chapter cards between modules, and a uniform visual style across every lesson in the course, which signals a professionally built course without demanding heavy work on each individual video. Captions belong in this category too, and they're a baseline expectation at this point, since a large share of viewers watch with the sound off.
Just as important is what stays out. Background music has no place here: it competes with the voice and adds nothing educational. You don't need elaborate transitions between every cut, a plain cut does the job. Long branded intros and outros on every single lesson waste a student's time, a one-second title card covers it. Transcript-based editing, where cuts happen by deleting words from a text transcript instead of dragging clips on a timeline, is worth adopting directly. It makes the editing stage more approachable for an instructor who isn't a trained video editor and keeps the focus on what was said.
The recording tool's effect on the editing experience
The tool chosen for recording decides what you can even do later in editing. A flat, single-track file out of QuickTime closes off the editing moves that make course videos clear and watchable. A multi-track recording, with screen, webcam, and audio captured as separate layers, opens all of those moves back up.
The dimension that matters most for a course creator is whether the recording tool reduces the editing work waiting afterward, or multiplies it. A tool that hands over separated tracks, system audio that's already clean, and a webcam layer that can still be repositioned after the fact turns editing into a quick pass. A tool that hands over one flattened file turns editing into reconstruction work, trying to recover flexibility that was never captured. That's the real question to ask before choosing a recorder: not how good does the footage look, but how much work is left once the footage exists.
Comparing the main tool options for Mac course recording
No single tool fits every course creator, and the right one depends on production style, comfort level with editing, and whether the priority is automation, granular control, or keeping everything in one place.
OBS Studio is free and open-source, and it gives granular control over bitrate, encoding through Apple VideoToolbox, and multi-source compositing, building "scenes" that combine multiple cameras, monitors, and browser windows at once. What it doesn't include is any built-in editing or hosted sharing, so a separate editor and a separate sharing workflow are both required after recording wraps. It suits creators who need complex multi-source setups and who are already comfortable managing post-production across separate tools.
Camtasia combines recording with a traditional timeline editor, and it includes drag-and-drop annotation assets like arrows, highlight boxes, and callouts, plus a SmartFocus effect that adds automatic zooms and pans. It also supports SCORM and LMS publishing, which matters for enterprise course delivery. It's a heavier application with a steeper learning curve, and pricing runs from $39 a year for the Starter plan up to $599 a year for Pro, with an Essentials plan at $179.88 a year. It fits corporate trainers and educators who need heavily annotated instructional video tied into an LMS.
QuickTime, the native macOS recorder, needs zero setup and comes built into every Mac, so it's fine for a quick informal capture. Its output is a single-track flat file, there's no internal system audio on macOS 26 and earlier, and no editing or sharing workflow is attached to it. It's free because it's already there, but it isn't built for professional course production.
AI-assisted editing features that reduce the time cost of producing many lessons
Editing, not recording, is where course creators now lose the most time, and AI automation is the dimension tools are increasingly judged on, not resolution or frame rate. Transcript-based editing is the clearest example: a tool reads the words in the recording and lets the creator edit video by editing text, so deleting a sentence deletes it from the video too. That removes the most mentally taxing part of timeline editing for anyone who isn't a trained editor. Automatic removal of filler words and dead silence handles the most repetitive part of cleaning up a long lecture take, and auto-generated captions save real time per lesson while meeting what's now a baseline expectation on course platforms.
Automatic cursor zoom and highlight deserves its own mention: tools that use the Mac's neural engine to track the cursor and generate zoom-ins on active UI elements remove the need to manually keyframe that effect in a separate editor for every single click, which adds up fast across a software walkthrough course.
Students can tell when a script sounds overly AI-polished, and human connection has become a real differentiator in course content. The fix isn't avoiding AI, it's aiming it correctly: AI automation earns its keep on mechanical tasks, removing silences, generating captions, zooming in on clicks, and it has no business writing the script or standing in for the instructor's own voice.
Platform export requirements before publishing a lesson
Check the course platform's current upload requirements before locking in resolution, frame rate, file format, and file size, since lesson videos and promotional clips sometimes have different rules, and the rules themselves shift over time. Mobile viewing is a major share of how students watch, so confirm that text and UI elements stay legible and that color contrast holds up before you record the full lesson. Re-recording later because text was unreadable on a phone is expensive time that didn't need to be spent.
The single most useful habit here: export one short sample, upload it as a draft, and actually watch it inside the platform's player, on both desktop and phone, before recording an entire course around it. That catches compression or processing problems while there's still only one video to fix, not fifty. Keep the edited project file around after export too. Publishing to more than one platform later means making another export, not another recording, as long as the project still exists. Hardware-accelerated export on Apple Silicon cuts export time substantially, which matters once a course has dozens of files to push out. H.264 inside an MP4 container remains the format most widely accepted across course platforms, so use it as the safe default when in doubt.
A repeatable recording checklist that makes the full workflow sustainable at volume
Handle each stage correctly once, then repeat the same process for every lesson after that, so the hours go toward teaching instead of fixing production problems lesson by lesson.
Before recording: write a short outline and keep each recording to one learning goal, set the display to 16:9, increase text size, hide the Dock, close unnecessary apps, and turn on Do Not Disturb. Run a short mic test to confirm there's no background noise or clipping. If system audio is part of the plan, confirm it's routed correctly and balanced against the voice. Set the app or project to the exact state the lesson should start from.
During recording: keep a steady pace and short sentences, pause briefly before important clicks, note timestamps where a cut will be needed, and on a mistake, stop, pause, and repeat from a clean point.
After recording: trim dead air from the start and end, cut false starts, repeated explanations, and loading screens, add a zoom on small UI elements where a student might otherwise miss something, generate and review captions, and export a short sample to check on both desktop and phone in the platform's player before publishing the whole course.
Keeping recording, editing, and sharing in the same application makes every one of these steps easier. The switching cost between tools decides whether the workflow holds up or falls apart across dozens of lessons.