Reducing Background Noise in Home Office Recordings
Environment control and mic placement eliminate noise before software tries to fix it.
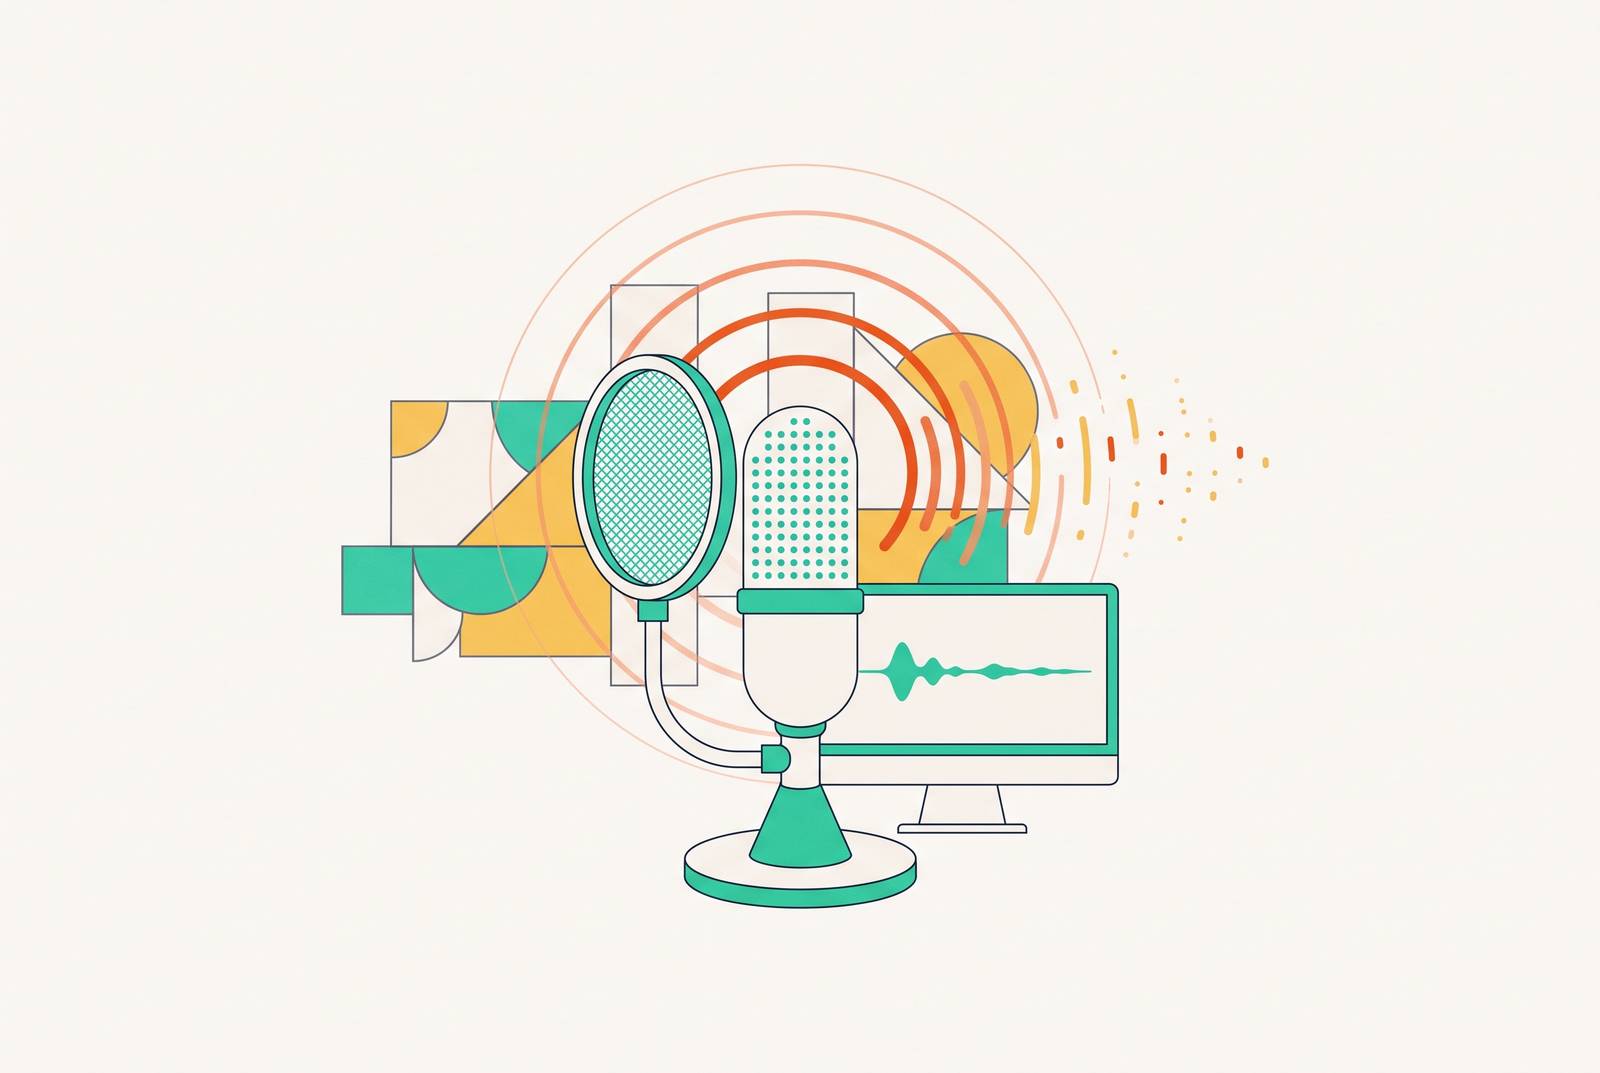
The reliable order is to control the environment first, position the microphone correctly second, and use noise-removal tools last. Following that order gives cleaner audio with less work to fix it, instead of asking software to turn a noisy spare room into a studio on hope alone.
Why home offices are acoustically hostile by design
A room can feel quiet to a person and sound surprisingly busy through a microphone. Computer fans, HVAC systems, refrigerators, and electrical hum make steady background noise that is hard to ignore in a recording. Door slams, keyboard clicks, passing traffic, and household activity add unpredictable interruptions. Meanwhile, hard floors and bare walls reflect speech back into the room, creating echo, slapback, and that hollow sound nobody ordered.
These are different problems. Homes were built to divide space rather than control sound, so interior walls transmit vibration and windows let outside noise enter. Even when those sources seem modest, a low recording level can make them more obvious later. Boosting a quiet voice in post-production raises the noise floor with it, giving the refrigerator an undeserved promotion to co-presenter.
Why fixing the environment delivers more than any tool or upgrade
Clean narration makes the content sound well thought out, while echoey or muffled speech can make the same demonstration or lesson feel amateur. That impression transfers to what is being shown or taught. A better picture does not solve a voice that sounds trapped in a bathroom.
The highest-leverage move is therefore to improve what reaches the microphone, rather than buy a better way to capture the same problem. The order is environment first, mic placement second, and tools last. Removing an avoidable noise source means neither the microphone nor the editing software has to contend with it.
Distance also matters because sound intensity follows the inverse square law. Moving the microphone closer to the mouth raises the voice-to-noise ratio by a lot without any change to a software setting. However, placement is the second line of control. The objection that everything can be cleaned up in post mistakes a finishing tool for a rescue service. Software works best on a nearly clean signal, and heavy processing can replace the original noise with distracting damage to the voice.
Choosing and preparing the quietest available space
Room choice is the most controllable variable before recording begins, and the best option may not be the room with the nicest desk. A closet with clothing, a carpeted room with curtains, or a small interior room can offer a better starting point. Favor spaces away from exterior walls, vents, and windows. Kitchens, bathrooms, and large bare rooms are poor choices, as are rooms near street noise or HVAC equipment.
Once the space is chosen, remove the noises that do not need to be there. Turn off fans, air conditioners, and desk fans, since even a small fan can add whooshing and buzzing. Close windows and doors, silence phones, and disable notification sounds. Move the laptops, hard drives, and charging bricks away from the microphone. Pause HVAC systems only when doing so is safe and practical.
Timing is another part of room preparation. Schedule recordings for quieter hours when traffic, construction, and household activity are lower. This matters especially for intermittent noise, which is much harder to repair than a steady hum. Preventing a door slam or passing car from entering the take is usually better than trying to remove it from the middle of a sentence. The room you choose sets a ceiling on what the rest of the recording chain can achieve.
What acoustic treatment actually does — and what it cannot do
After choosing the space, the next question is whether the remaining problem is sound bouncing inside it or sound entering from outside. Acoustic treatment cuts down on reflections inside the room, while isolation keeps outside noise out. Mixing them up can mean paying for a fix that cannot solve the problem. Foam on the wall may soften an echo, but it does not talk traffic into taking another route.
For reflections, start with affordable treatment. Broadband absorbers, including acoustic panels, thick blankets, duvets, and heavy curtains, reduce echo and slapback. Rugs on hard floors, a couch in the corner, and curtains on walls also reduce sound bouncing back toward the microphone. Focus absorption near the microphone and the speaker’s mouth. Avoid recording from the center of a bare room, where reflections are strongest.
Isolation has a different set of requirements, namely mass, airtight sealing, and structural separation. Lightweight materials let outside noise through no matter how thick they are, so foam panels cannot block traffic, HVAC noise, or neighbors. A closet or blanket booth can reduce echo effectively while providing little isolation from a noisy street. Those setups are useful, but their usefulness has a boundary.
True soundproofing, such as a room within a room, requires construction, access to the property, and significant investment. That makes it unrealistic for most home office recorders. Purpose-built isolation booths, such as the Creator Basic from WhisperRoom, sit between DIY treatment and a purpose-built studio for workflows that demand consistent isolation. Treatment is the practical first step because it is cheap and effective for reflections. Isolation is the next step to consider when treatment has done all it can and outside noise is still a problem.
Microphone choice and placement as the second line of control
With the room under better control, microphone choice becomes a decision about the space. Dynamic microphones reject more room sound and ambient noise, making them more forgiving in untreated or moderately noisy spaces. They are therefore a strong choice for home offices where full acoustic control is not possible, with careful placement still needed.
For speech, position the microphone close enough that the voice is substantially louder than the room noise. This is what a good signal-to-noise ratio means in practical terms. Then angle the microphone so its rejection zone faces the noisiest part of the room. Depending on the polar pattern, that zone may be at the back or sides.
Use a pop filter to control plosives without moving the microphone farther from the mouth. A shock mount or boom arm helps isolate it from desk vibrations caused by typing or bumping the table. If keyboard noise is a problem, keep the microphone off the desk surface entirely.
Complete the setup by setting gain at the interface. Aim for speech peaks around -12 dB to -6 dB, so even the loudest speech stays well below clipping and there is enough headroom for natural dynamics. Setting the input too low only creates more work when the voice has to be boosted later. Correct placement and gain give the software less noise to remove and more clear speech to preserve.
Recording a room tone sample before the main session
Before the main recording, capture a short stretch of silence in the same space with the same setup. This is room tone, which records the ambient noise floor. It gives noise-reduction software a reference from which to build a noise profile. With a separate sample, the tool can get cleaner results with less processing because it has less need to guess what is noise in the spoken recording.
Room tone also helps smooth edits. When a mistake is removed or a pause is added, it can fill the gap with the correct ambient sound. The sample can also be captured after the session, provided the space and setup are the same. The habit costs nothing and takes under a minute, making it especially useful for remote and interview recordings whose surroundings cannot be recreated afterward.
Where software noise removal fits — and where it breaks down
Software belongs after the room and microphone have done the heavy lifting. It works best on constant noise, such as air conditioning hum, electrical buzz, and fan hum. Sharp, unpredictable sounds such as door slams, keyboard clicks, and passing traffic are harder to remove without harming the speech around them.
There is also a limit to how much processing a voice can take. Pushing noise reduction too hard can create metallic artifacts, pumping, or an unnatural underwater quality. These effects can distract listeners more than moderate background noise would have done. The aim is not silence at any cost, especially if the cost is making the speaker sound submerged. A light final pass is the right role for these tools.
Within that role, the choice depends on when and where the recording needs help. Krisp offers real-time AI noise cancellation for live calls and recordings requiring cleanup during capture, running locally on the device using the CPU, or the GPU on supported hardware, and working across more than 800 communication platforms, including Zoom, Teams, and Google Meet. Built-in suppression in Zoom and Teams is included at no cost and can be sufficient when only one platform needs noise removal. Google Meet noise cancellation needs a paid Workspace plan, Business Standard or higher.
NVIDIA Broadcast has GPU-accelerated real-time removal that works well and puts very little load on the CPU. It offloads processing to RTX GPU Tensor Cores, with a small measured GPU performance impact. That hardware requirement limits its use to machines with an RTX GPU. Laptops without one, including those with only Intel integrated or AMD graphics, and all Macs are excluded.
For recordings that can be edited afterward, Adobe Podcast Enhance Speech uses AI to remove noise, improve voice clarity, strip echo, and balance levels. It can help salvage recordings where noise could not be prevented. DAW-based options, including Audacity, Adobe Audition, Reaper, Logic Pro, and Pro Tools, offer precise, adjustable noise reduction. They generally require a noise sample or manual threshold calibration, with the exact method varying by DAW.
Putting the full workflow together for home office video recordings
Choose the quietest available space and silence avoidable noise sources before pressing record. Address reflections where needed, then place the microphone close to the mouth with its rejection zone toward the noisiest area. Use a shock mount if desk vibration is a factor. This puts prevention ahead of correction from the start.
Next, set gain for peaks around -12 dB to -6 dB and monitor with headphones to catch noise before committing to a take. Capture a short stretch of room tone, then record the main session. If cleanup is needed afterward, apply it lightly and use the room tone as the noise profile. Each step reduces the burden on the one that follows, so editing becomes a finishing stage.
Clean home office audio is an engineering problem with a clear order of operations. Following the sequence makes good results repeatable, regardless of who is recording. Luck can stay off the equipment list.