Screen Recording on Windows for Online Instructors
Windows instructors can cut editing time by choosing the right capture tool for each lesson type.
An instructor finishes a 40-minute lecture recording, opens the laptop to edit it, and realizes the recorder, the editor, and the caption tool are three separate subscriptions that don't talk to each other. That handoff, from capture to editing to captions to delivery, is where online teaching on Windows actually falls apart. Capture has become table stakes. Every course platform expects screen recording now, so the real competition is what happens in the hours after you hit stop. The tool landscape has split into separate camps, quick recorders for async clips, full editing suites, AI automation tools, LMS export tools, and each one solves a single slice of the problem while leaving the rest for you to stitch together. Students don't grade you on the recording itself. They notice the choppy cuts, the audio that drifts out of sync, the missing captions, the ten seconds of dead air before you start talking. Instructors who ship lessons consistently are the ones who pick a capture method that fits the lesson and then keep post-production inside as few tools as possible, and everything after this section is really an argument for how to do that.
Setting up the recording environment before anything else
The environment you record in decides a huge chunk of how much editing waits for you later, and sound carries most of that weight. Students will forgive a slightly stiff camera angle or a plain background, but they tune out fast when the audio is muddy, echoey, or inconsistent, so treat audio as the priority it actually is. A dedicated external microphone is the one piece of equipment that pays for itself fastest. Even a budget USB mic will outperform whatever is built into your laptop, the same way a decent umbrella beats holding a newspaper over your head. Keep the mic a short distance from your mouth and angle it slightly off to the side so plosive sounds (the little pops on words like "pen" or "box") don't thump into the recording, and once it's positioned, leave it there for the whole session. Before you record anything that matters, run a 30-second test clip and listen back on headphones, watching for peaks in the –12 to –6 dB range. Shut the door, kill the fan, and silence your phone and desktop notifications. A quiet room does as much work as the microphone itself.
You should handle desktop hygiene in this same pre-recording pass, not in a cleanup pass afterward. Close every application and browser tab you don't need on screen, switch to a plain, solid dark wallpaper, and hide your desktop icons so students aren't squinting at a folder named "Untitled (47)." Record inside a browser profile with no personal bookmarks bar in view, and set your browser zoom to exactly 100 percent so text stays legible and consistent from one lesson to the next. A webcam is optional, but it's not just decoration. Putting your face on screen builds a sense that an actual person is teaching the lesson, not a disembodied cursor. 720p is fine, and 1080p looks noticeably more polished if you have it.
Which Windows capture method fits which type of lesson
No single tool on Windows handles every kind of lesson well, and picking the most powerful option instead of the right one is the fastest way to waste an afternoon. Start with what Windows gives you for free, because it's fast but genuinely limited. Xbox Game Bar, opened with Win + G or started and stopped with Win + Alt + R, records inside an active application window and saves clips to C:\Users\[YourName]\Videos\Captures, but it can't capture your full desktop or File Explorer, has no webcam overlay, and has no editing built in, so it's really only suited to a quick one-off recording inside a single app. The Snipping Tool, updated in Windows 11, picked up a screen video recording feature that supports region-specific capture, but it still has no editing tools, no cursor highlighting, and no annotation options, which makes it fine for a short bug report clip and wrong for a narrated lesson. PowerPoint's own recording feature, accessed through the Record button in the top app bar and exported to video through File → Export, works well for slide-narration lessons and even includes inking tools so you can draw or highlight on a slide as you talk, though its editing and webcam placement options stay fairly limited.
Free, open-source tools sit a step up from there, trading simplicity for control. ShareX is free, hotkey-driven, and handles full screen, region, window, and scrolling capture. Getting audio working requires manually configuring FFmpeg (through Task Settings → Capture → Screen Recorder → Screen recording options, setting up microphone and system audio via virtual-audio-capturer), real customization but also real setup time before your first clean recording. OBS Studio is the most capable free option on the market: open source, built around scenes and multiple sources, capable of high-quality local recording with no watermark and no time limit. It has no built-in editor, though, and its setup is steeper than any consumer tool, so it needs to be paired with a separate editing application afterward. OBS and ShareX are both excellent, and both reward instructors who are comfortable digging into settings menus. Neither one is the right starting point if your actual priority is getting a lesson out the door this week.
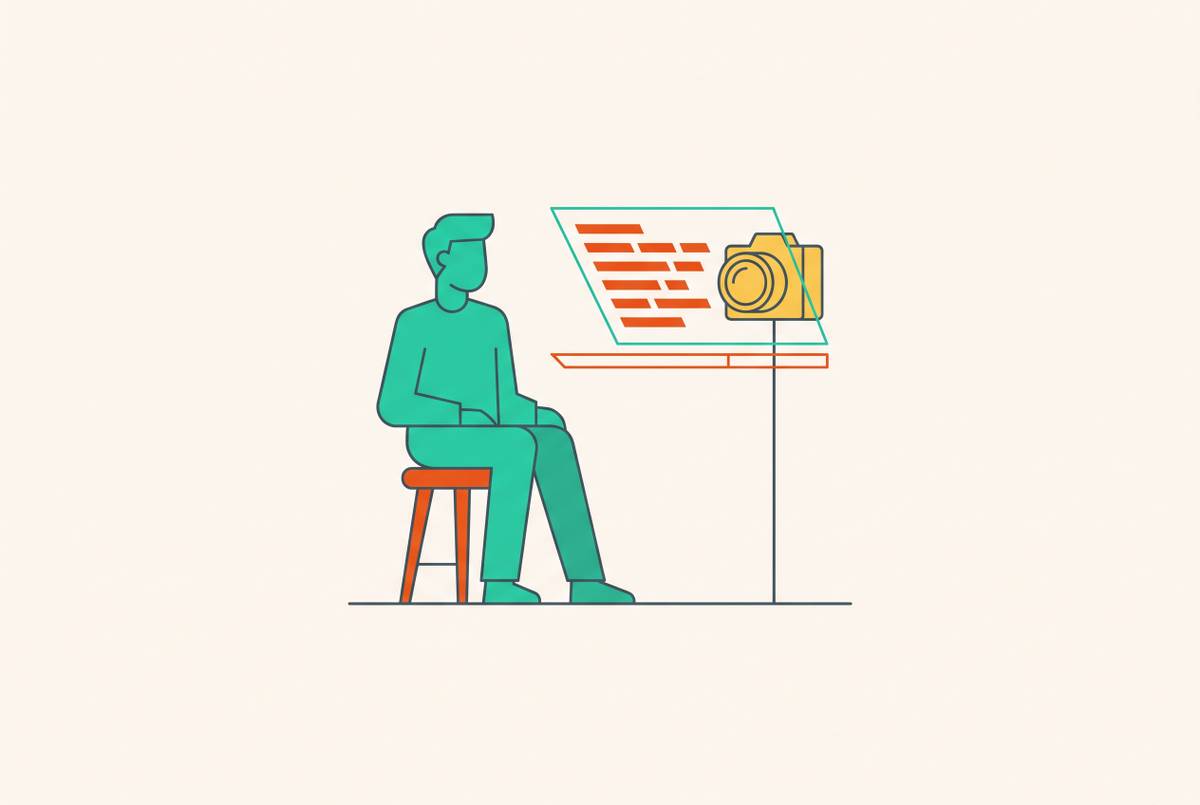
Above those sit dedicated screen recorders built with an editing timeline included, complete with zoom effects, annotations, cursor effects, and LMS export formats like SCORM, aimed at instructors producing formal course content who want to edit without switching applications. Some tools go further and build a full record-edit-share loop, adding a built-in teleprompter so you stop losing your place mid-sentence, and an invisible recorder mode so the on-screen recording indicator stops distracting you while you talk. Which of these fits depends entirely on what you're teaching. Slide narration calls for PowerPoint's built-in tool or any recorder offering a front-facing camera overlay. Software demonstrations benefit from a recorder with zoom-in and cursor highlighting, where a webcam overlay adds real instructor presence. If a tutorial walks across multiple windows and applications, you need full desktop capture. OBS, ShareX, or a dedicated recorder built for it can handle that. Neither Xbox Game Bar nor Snipping Tool can manage that. And quick, async feedback on a student's work is best handled by an all-in-one tool that can share a link the moment recording stops.
Recording techniques that make post-production shorter
What you do while the camera is rolling decides how much time you spend afterward fixing it, so treat recording technique as an editing shortcut, not a separate skill. Narrate intentions, not actions. Saying "I'm clicking the Export button because we want to save this as an MP4 file" teaches more than saying "I'm clicking the blue button," because the reasoning behind a click is what a student actually rewinds to hear again, not the click itself. Try pausing briefly before anything important happens on screen and narrating what's about to occur before you do it. That half-second gives a student time to find the same button on their own screen, which matters most for beginners who are still hunting for the cursor.
Slow your pace down from normal conversation, and pause once you finish each step before moving to the next one. A clean two-second silence does more for comprehension than a string of filler words, and it happens to be far easier to trim out later than a stretch of "um, so, okay, next." Mistakes don't have to mean starting over. For a small error, the move is to keep going, correct it out loud, and move on. Those little stumbles make you sound human, and you can trim them in seconds. For a genuine flub, stop, say "let me start that step again," and re-record just that segment. That spoken marker gives you an obvious edit point later, so a mistake becomes a cut, not a reason to scrap forty minutes of work.
Zoom works best as something you do live, not something you patch in afterward. Zoom in on a menu or button before you click it, hold that zoom while you explain what's happening, and pull back out to a wider view before moving to the next idea. Zooming in and immediately zooming back out just disorients the viewer, like a camera operator who can't decide where to point. Finally, plan your recording in short segments rather than recording one long take and hacking it down afterward. Engagement drops sharply after a few minutes of unbroken video, and for slide-based lessons, recording in small chunks creates natural breakpoints that keep files manageable, which, conveniently, is exactly where the editing conversation picks up next.
Editing a lesson recording without a video production background
Most instructors stall out at editing, and the fix is switching to a tool that edits video the way you'd edit a Word document. Transcript-based editing turns every spoken word into a text element on screen, so deleting a sentence from the transcript deletes that chunk of video too. No timeline scrubbing, no hunting for keyframes, just reading and deleting the way you'd tighten up an email. That approach makes the most tedious editing task, cutting filler words and dead air, almost painless, and AI-powered filler word removal now handles most "um" and "uh" instances automatically, so the manual cleanup pass left for you is much smaller.
A handful of edits belong in essentially every instructional recording. Trim the beginning and end so you cut the pre-recording fumbling and the post-recording silence, remove filler words, add zoom effects around key UI elements, and normalize audio so the volume stays consistent from clip to clip. That last one, audio normalization, is the edit instructors skip most often and the one students complain about most, since nothing says "this course was assembled in a hurry" like volume jumping between lesson 3 and lesson 4. When you do add zoom in post-production, the same rule from recording applies: zoom in before you demonstrate the small element, hold it while you talk, and ease into the zoom smoothly.
For course content, color work stops at correction, making the footage look like reality looked in the room. If you don't have an editing background, correction is your ceiling, and that's a perfectly fine ceiling. The one place a full multi-track timeline editor earns its extra complexity is formal course content built around quizzes, SCORM export, branching paths, or interactive elements, like software that lets an instructor record a workflow once and automatically generate interactive exercises where a learner has to click the correct on-screen elements. For everything short of that, transcript-based editing gets a lesson from raw footage to finished video in a fraction of the time a timeline editor demands. That's why it's worth defaulting to for most async lessons and software walkthroughs.
Captions and accessibility requirements instructors cannot ignore
Captions carry legal weight, so you need them, not just as a nice finishing touch. WCAG 2.1 Level AA, Success Criterion 1.2.2, requires captions on all prerecorded audio content in synchronized media, meaning if there's talking in your video, captions are required, full stop. That standard applies to institutional platforms, LMSs, and any public-facing course site, so this isn't a box to check only for certain courses.
Captions help a wider group of students than people usually assume. Non-native speakers who follow a lesson in their second language lean on them heavily. Students who watch in a shared space without headphones rely on them to follow along silently. Anyone trying to catch a dense technical explanation at double speed benefits from text they can glance at. AI transcription now produces highly accurate captions under clean audio conditions, but that accuracy still needs a human review pass, because errors cluster around technical vocabulary, proper nouns, and the specific jargon instructors use constantly, exactly the words a course can least afford to get wrong. Keep caption formatting simple: no more than two lines per block, a short character limit per line, and enough display time that a student can actually read the line before it disappears. For lessons involving visual data, a fuller transcript should describe what's on screen explicitly, so if an instructor points to a graph, the transcript states that a graph is being referenced, giving blind and low-vision students the context the narration alone leaves out.
The workflow decision that causes most of this pain is where captioning happens. Doing captions last, in a separate standalone tool, is what makes a course slow to finish and slower to fix. Generating and reviewing captions inside the same tool used for editing keeps the whole process in one place and keeps accessibility from becoming the step that gets rushed or skipped when a deadline closes in.
Sharing and delivering lessons so students can use them
Delivery isn't the finish line, it's a decision that shapes whether students actually use what you made. The render wait between finishing an edit and having a shareable link used to be unavoidable, but cloud-based editing tools have solved it, so instructors still stuck exporting from a desktop-only editor and waiting through a render queue are paying a time cost that no longer needs paying. Hosting video with a share link, rather than uploading the raw file into your LMS, keeps file size off the LMS entirely, gives you analytics on who watched and how far they got, and lets you swap out the video at the same URL without re-linking it anywhere in the course.
Delivery isn't limited to finished lessons, either. A two-minute screen recording walking through a student's submitted work, narrating what's strong and what needs revision, communicates more precisely than a page of written comments and keeps a real sense of instructor presence in a course that's otherwise entirely asynchronous. That only works as a habit, though, if the tool supports it: feedback recorded and sent inside five minutes is a workflow you'll actually keep up, while feedback that requires an export, a compression step, and a manual upload is a workflow you'll quietly abandon by week three.
The software you teach will keep changing, so lessons built around it start going stale as soon as an interface updates. Hosting video behind a stable URL that can be replaced without re-linking turns that inevitable staleness from a republishing project into a quick swap, and that maintenance decision matters exactly as much on lesson 1 as it does on lesson 30. An instructor recording inside a tool that also hosts and links the content, instead of downloading a file and re-uploading it to a third platform, carries a fraction of the overhead when update time comes. A workflow built to stay inside as few tools as possible is the only kind of workflow that's still manageable to maintain a year and thirty lessons later.